
About
This is a guide to add new posts and to amend existing pages. Please note that this page is not part of the site, I have placed it on there so you can reference it whenever you wish! I would also suggest that you have a look on youtube and watch a few tutorials on how to familiarise yourself with WordPress. It is pretty straightforward but I’m happy to help out if you ever get stuck. I have made all the screengrabs below clickable so they can be enlarged.
- Login into the admin area of the website. To do this you need to go to this address: www.toyotaenthusiasts.com/wp-admin/
- I will not put the password into this documentation due to security – I can set up as many users as you wish – just need to forward me as their email addresses, as users need to have different addresses.
- This is the login screen below
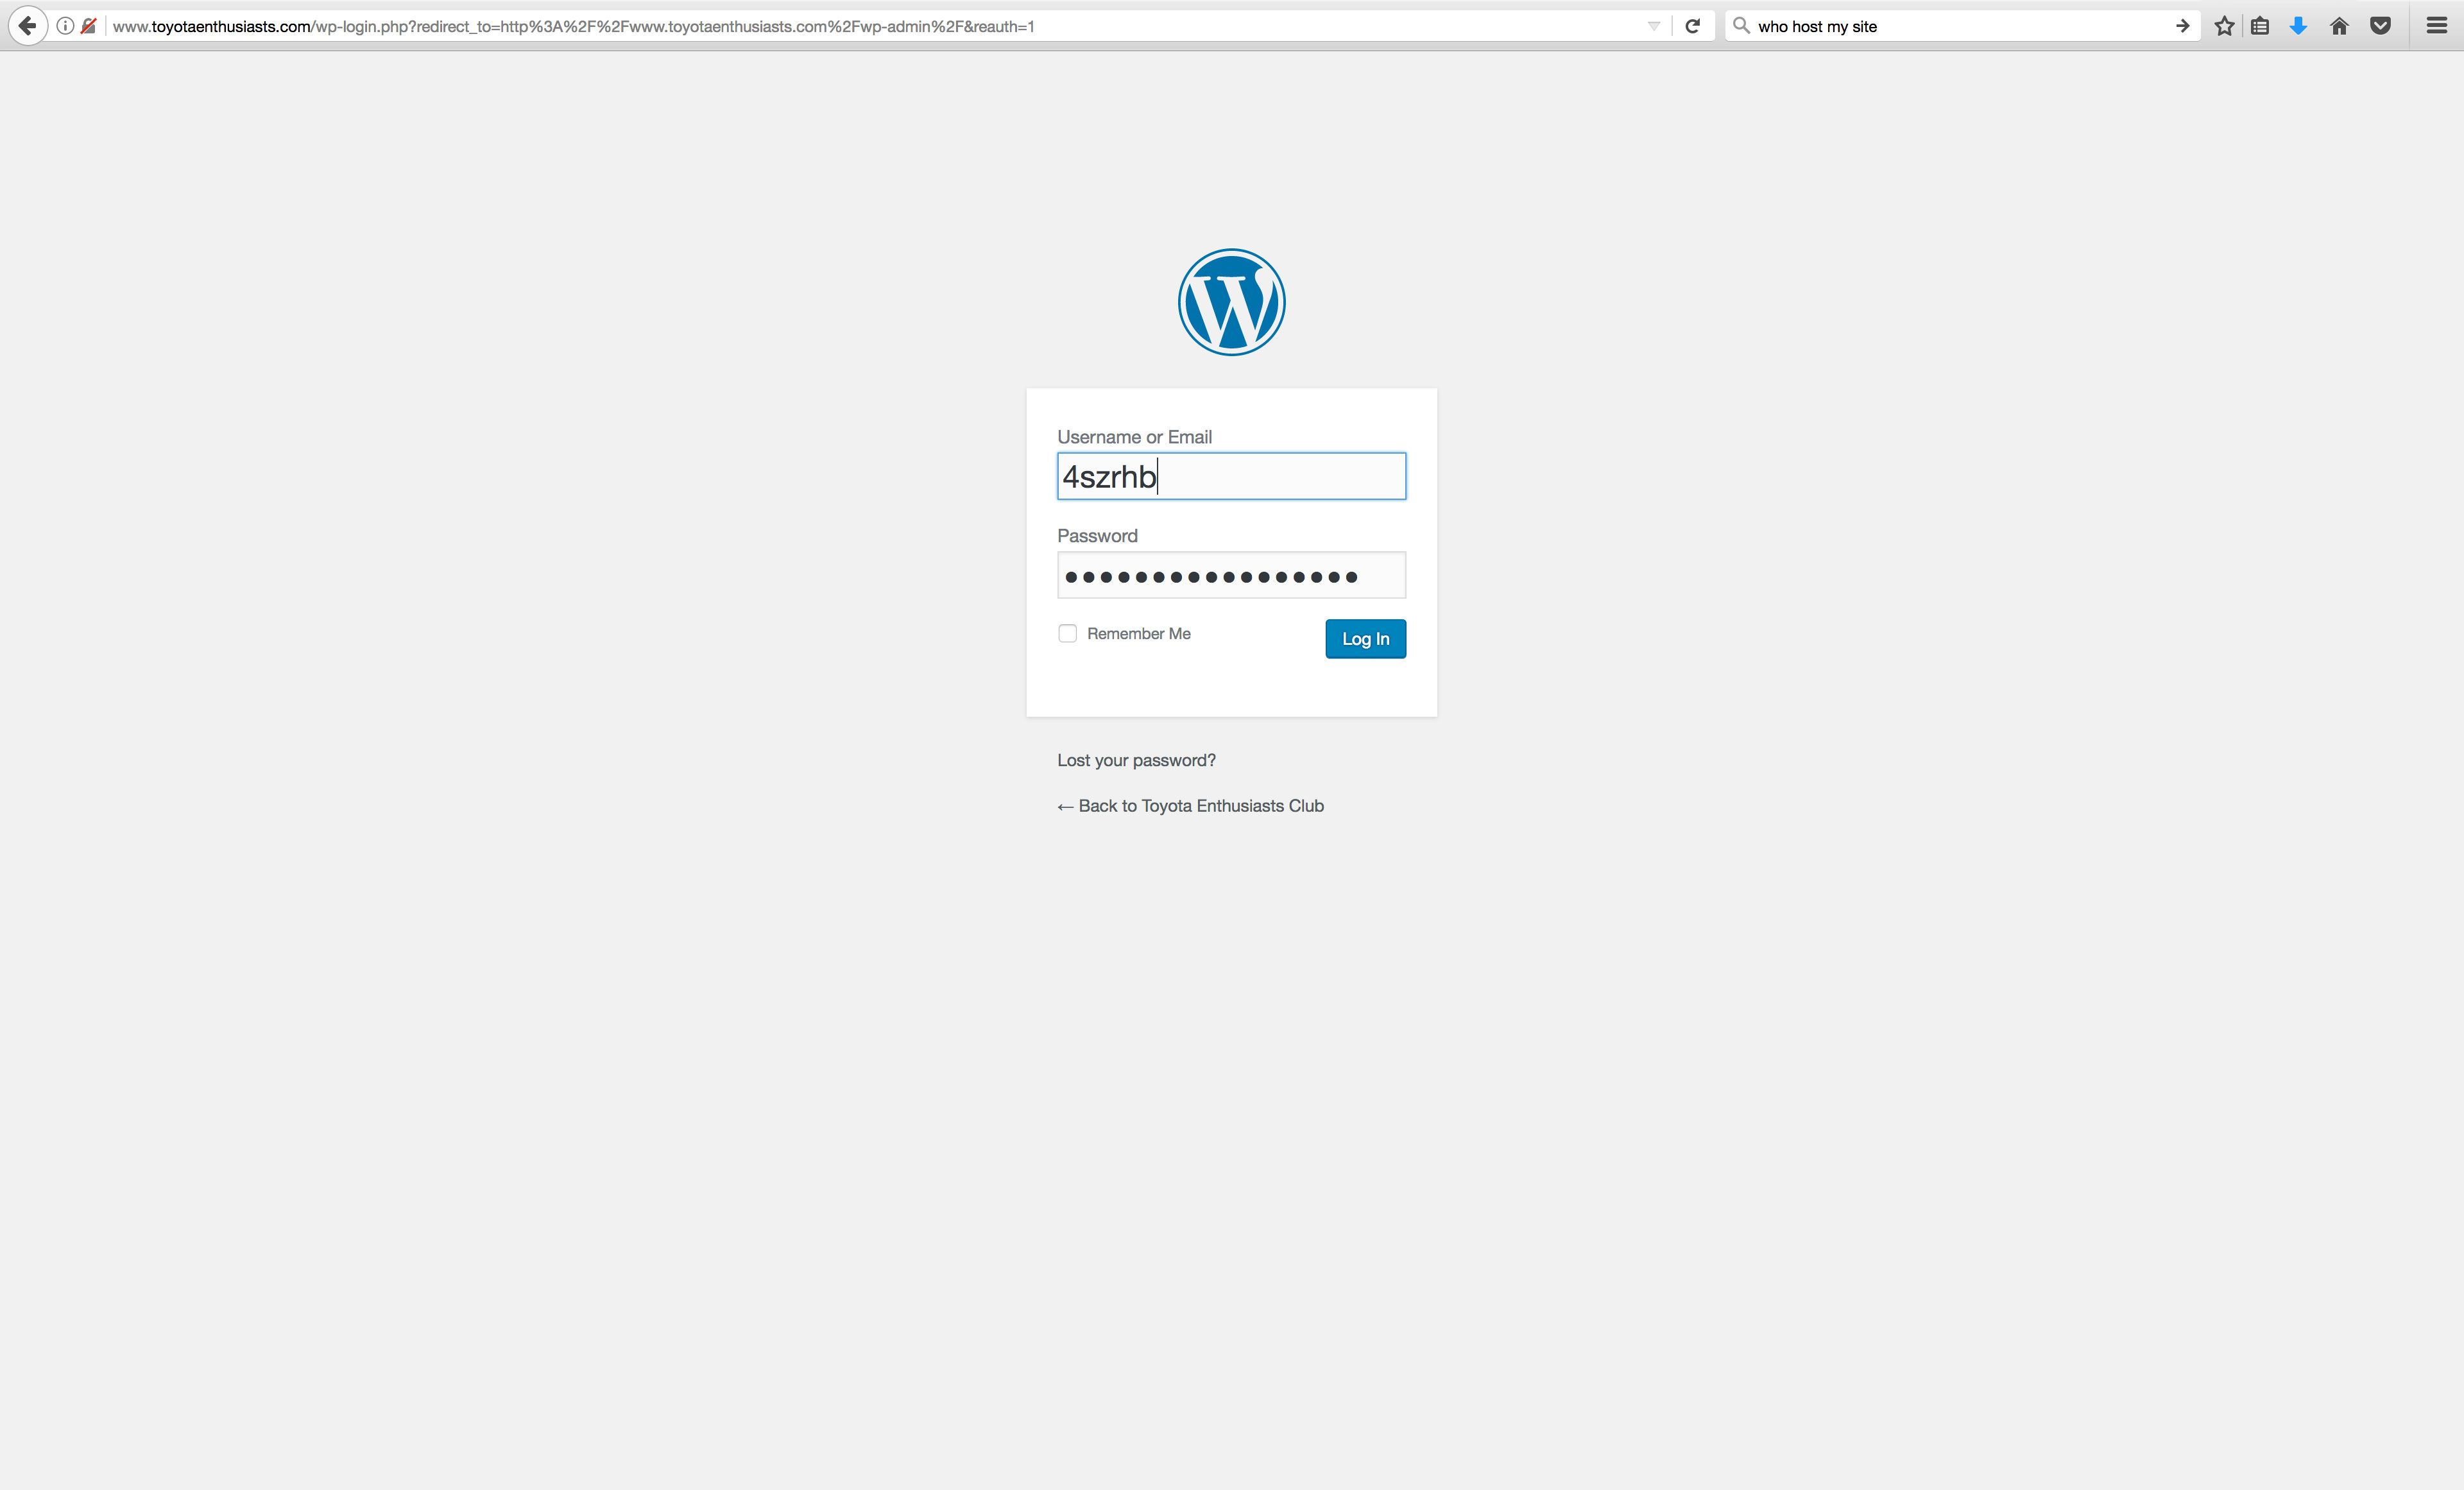
- The password is deliberately obscure to increase security. If there any issues adding users, please get in touch and I can do this one your behalf.
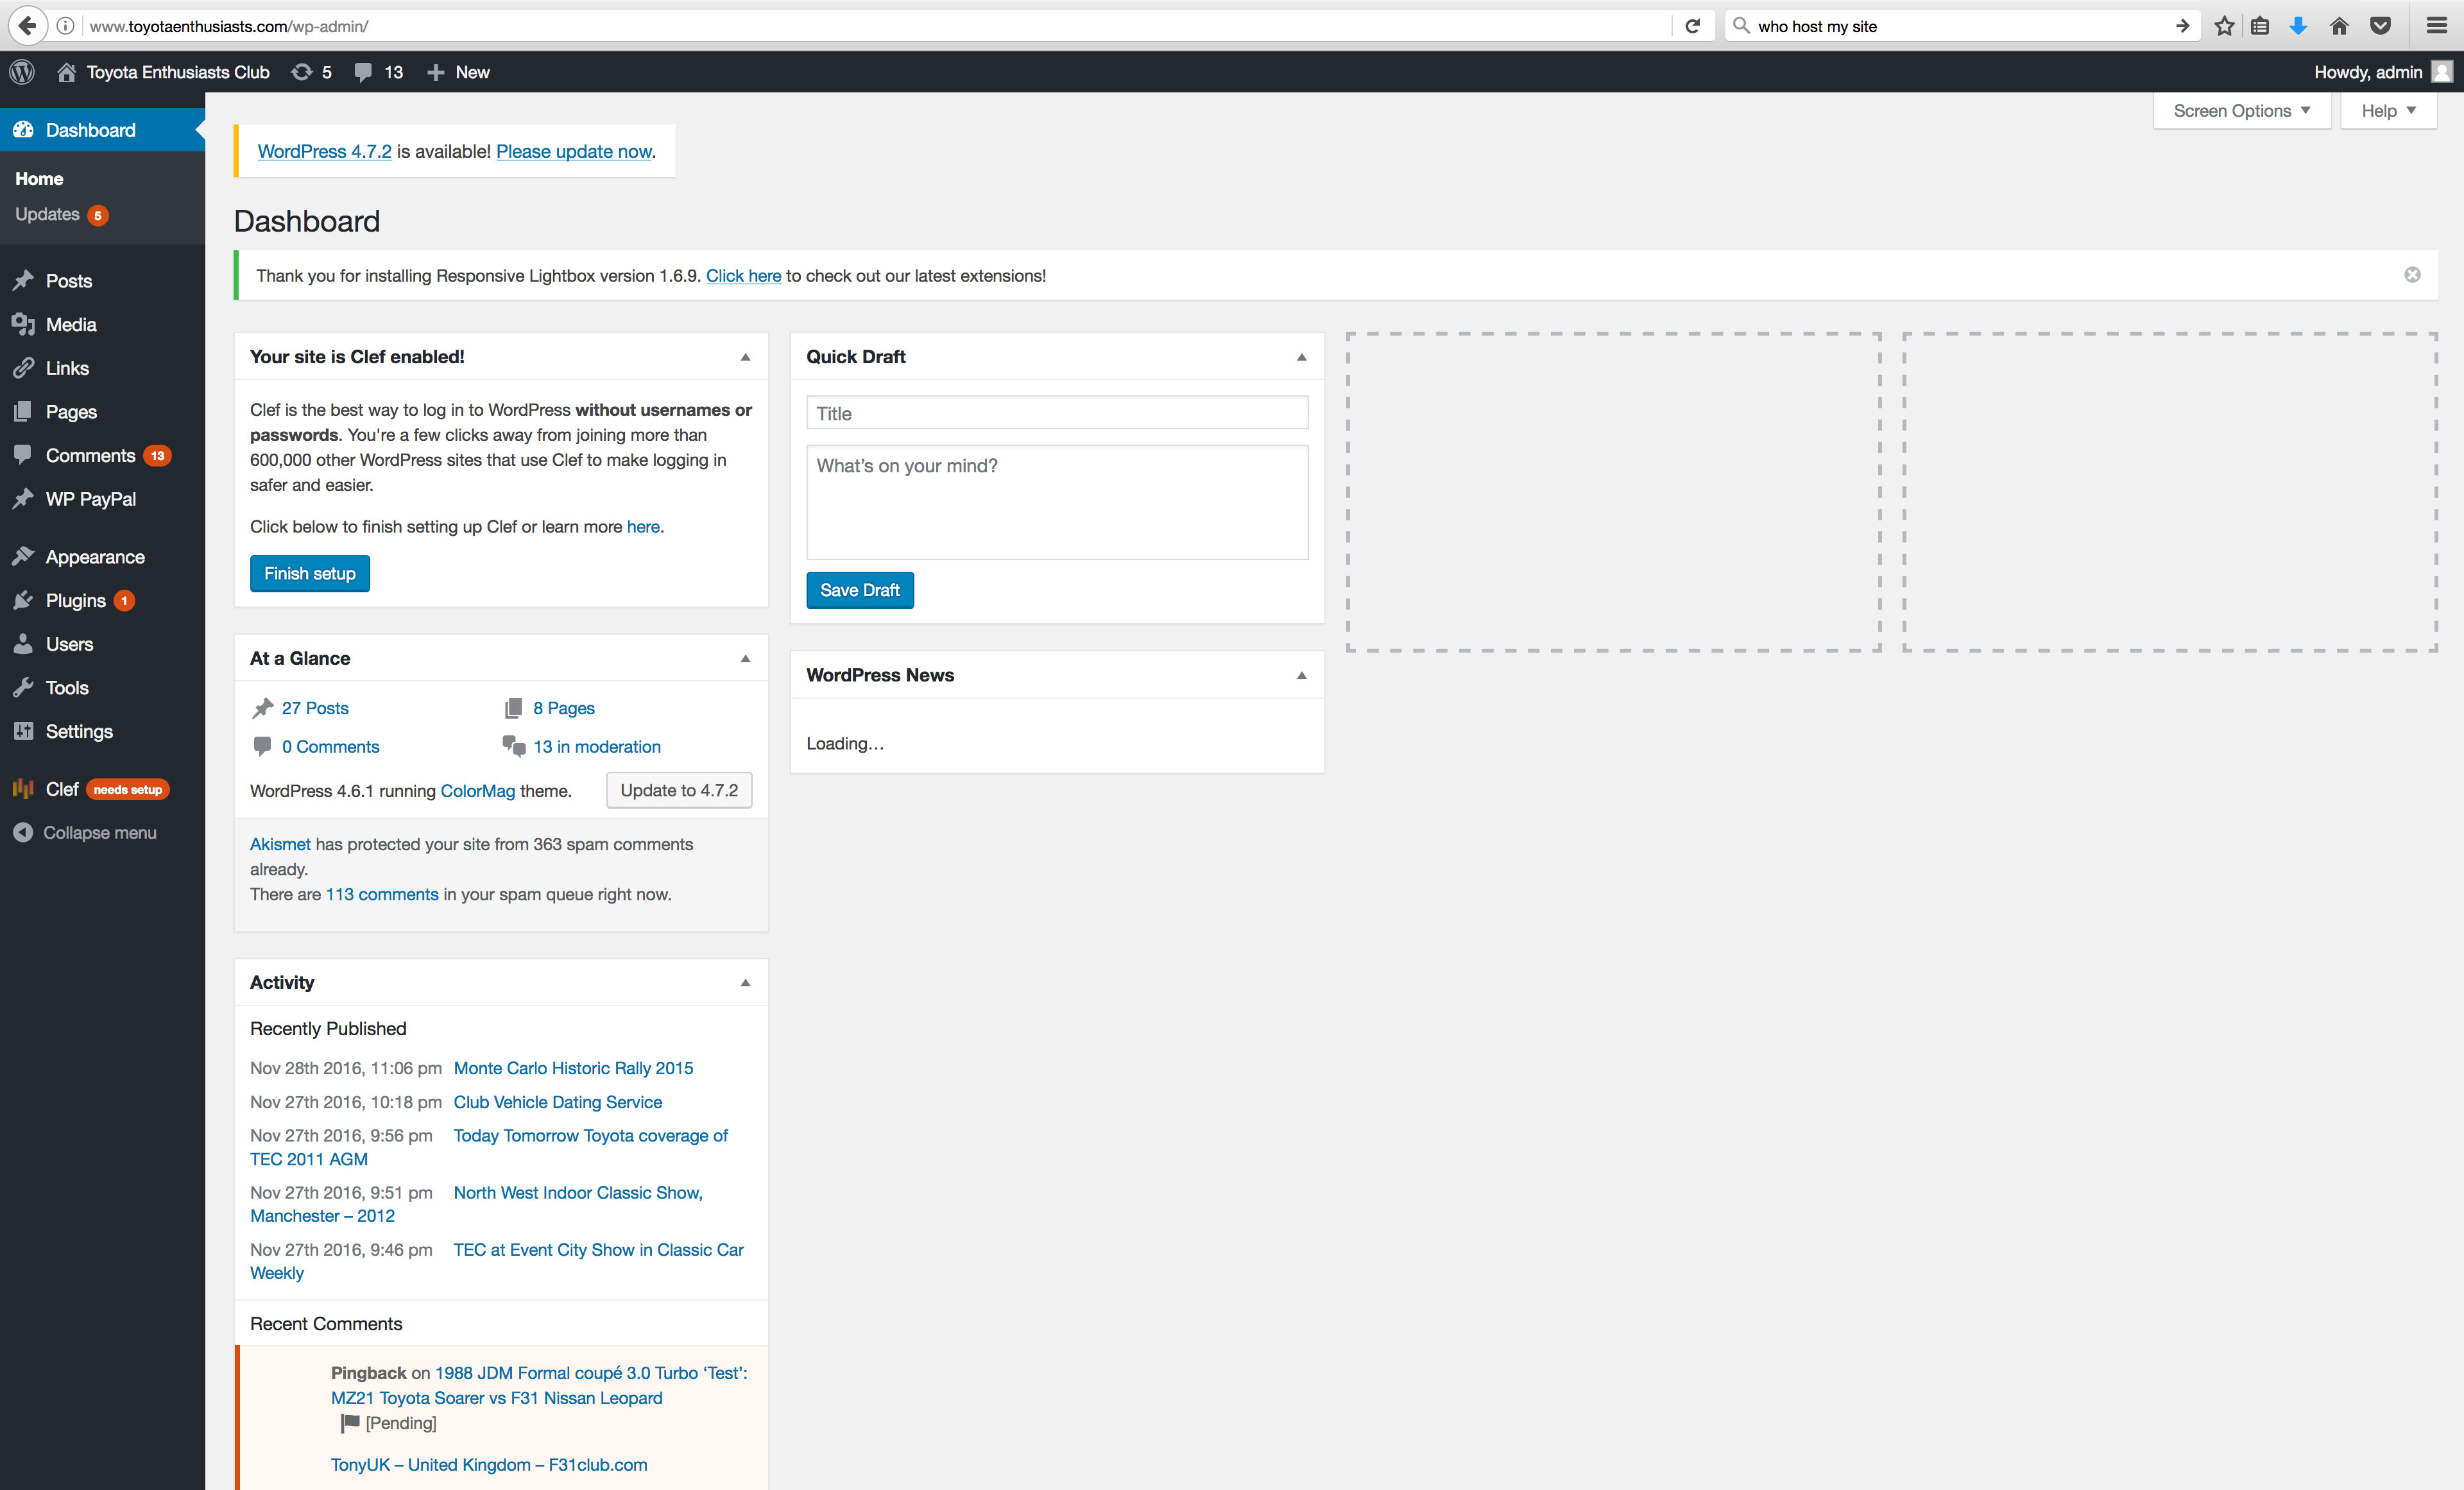
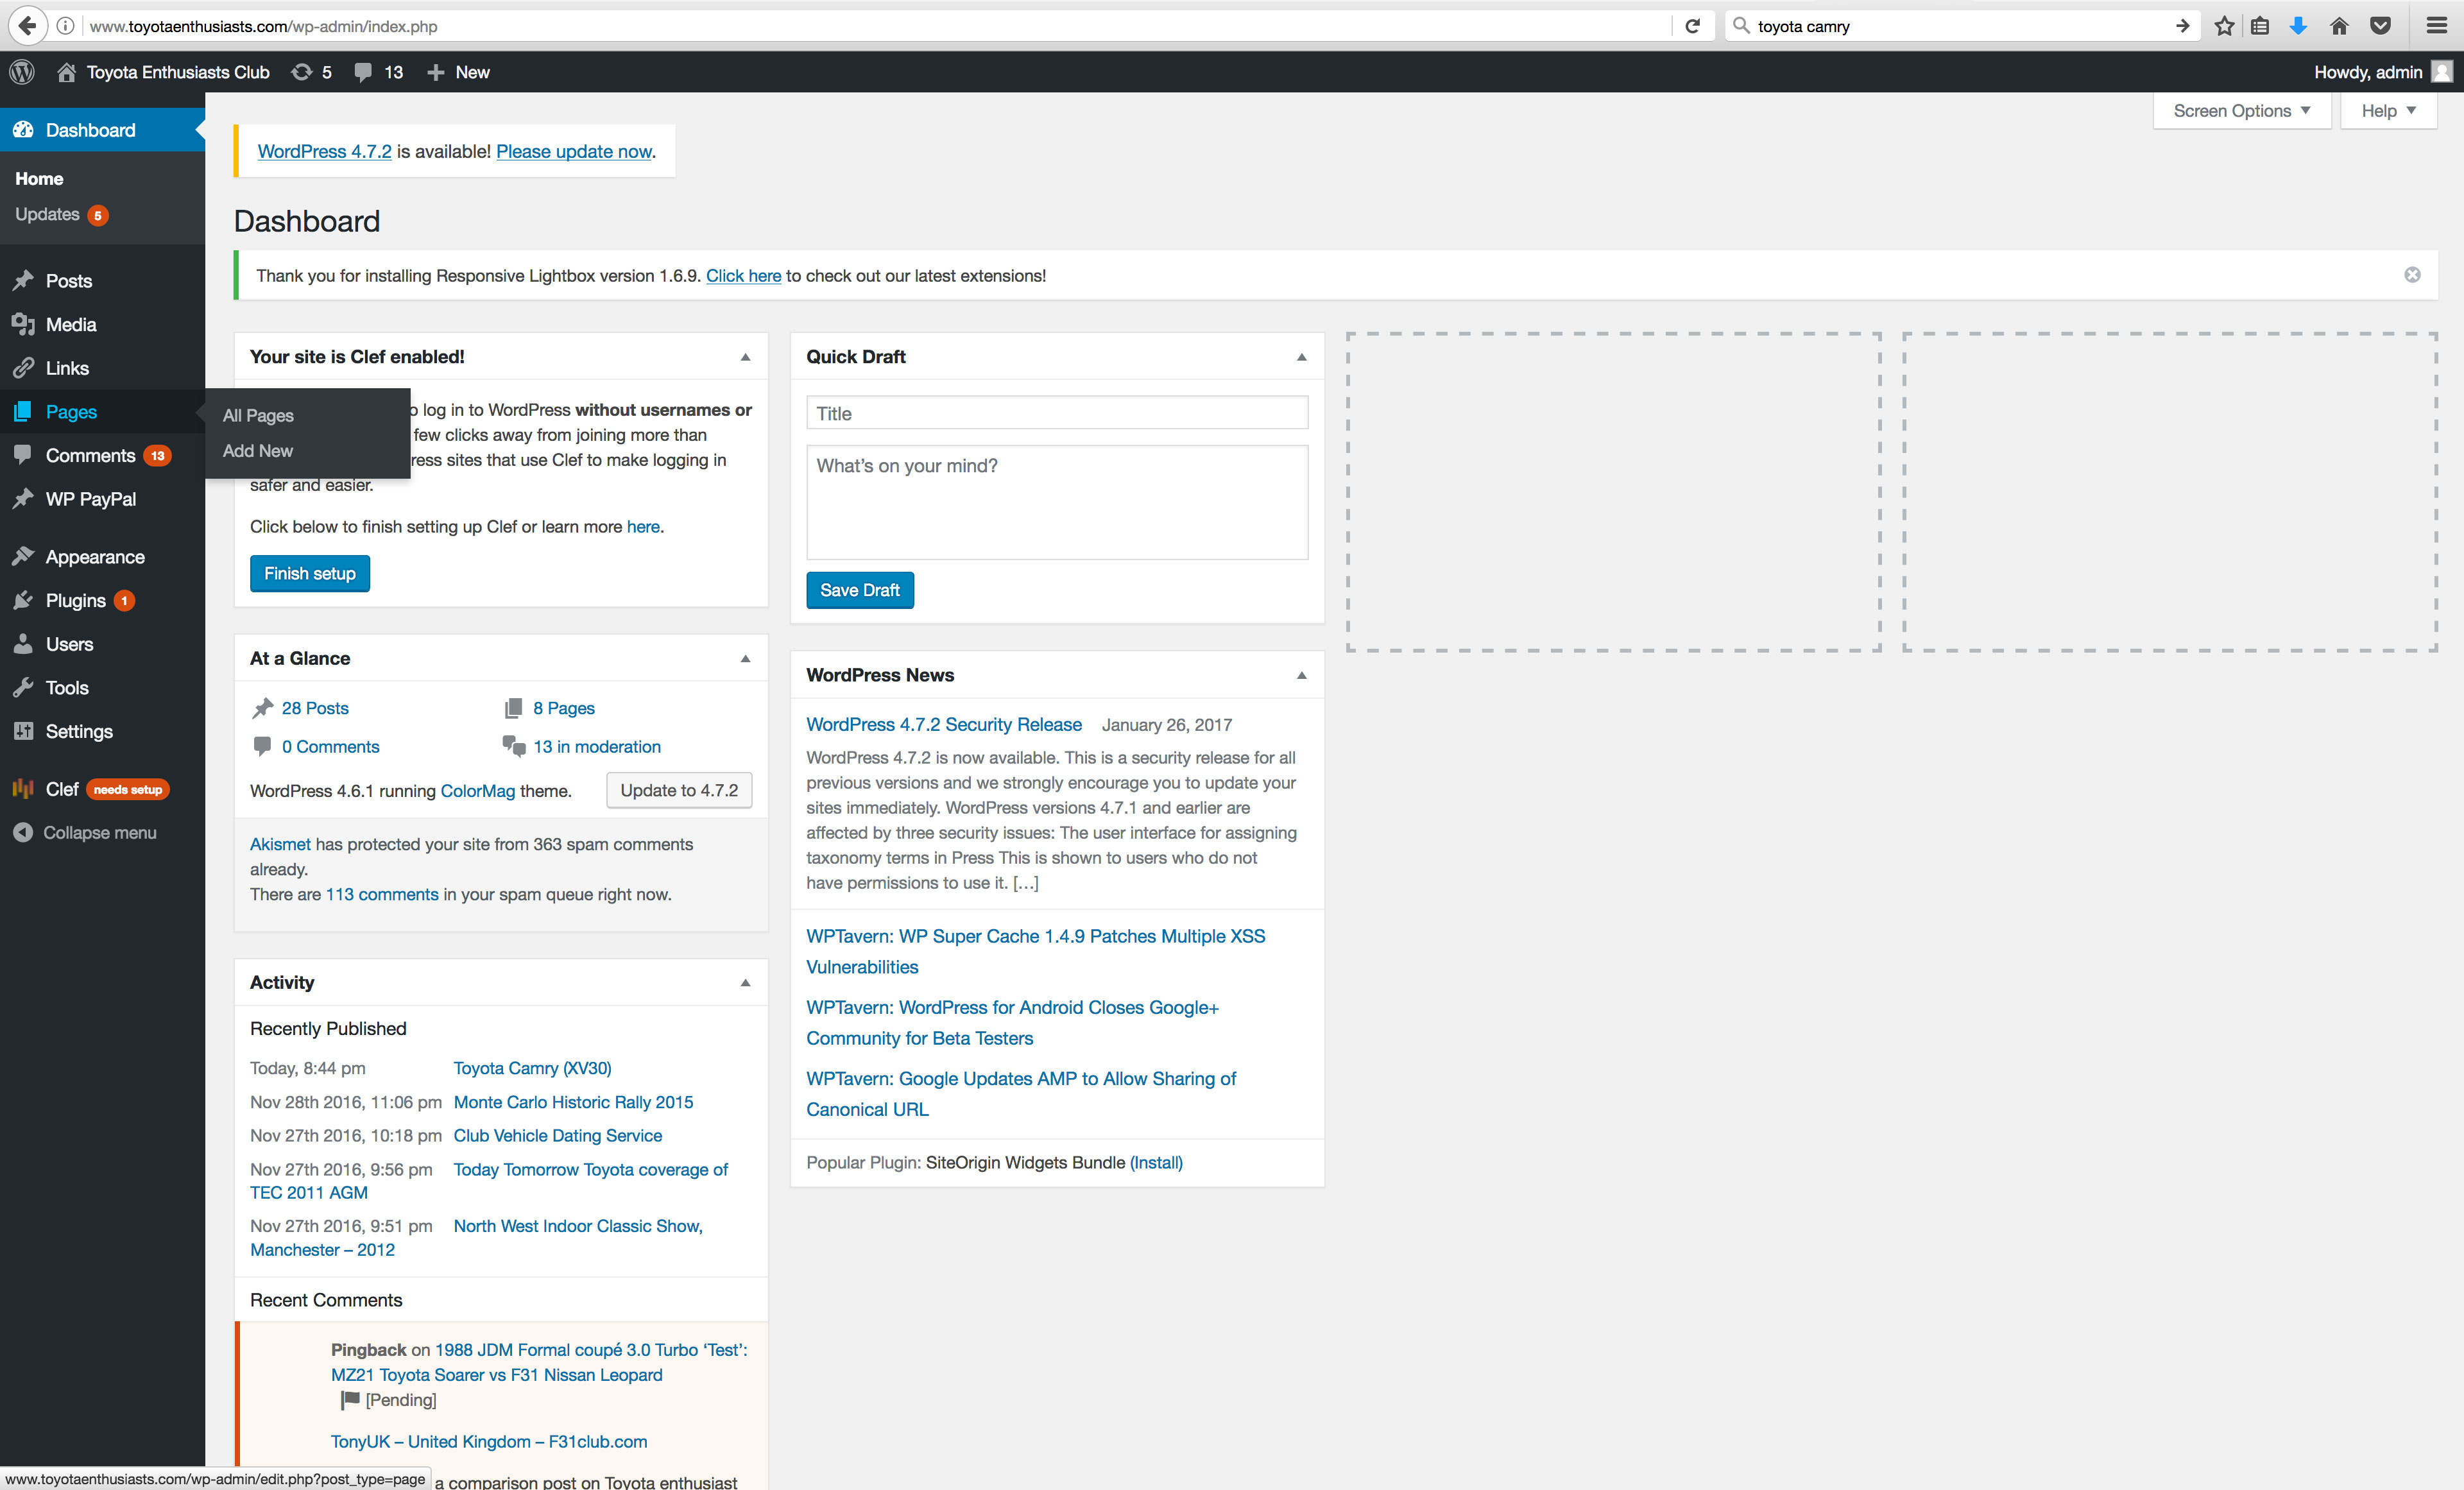
- The screen below is known as the dashboard – this is the first page you’ll see when you login in. This is the main page.
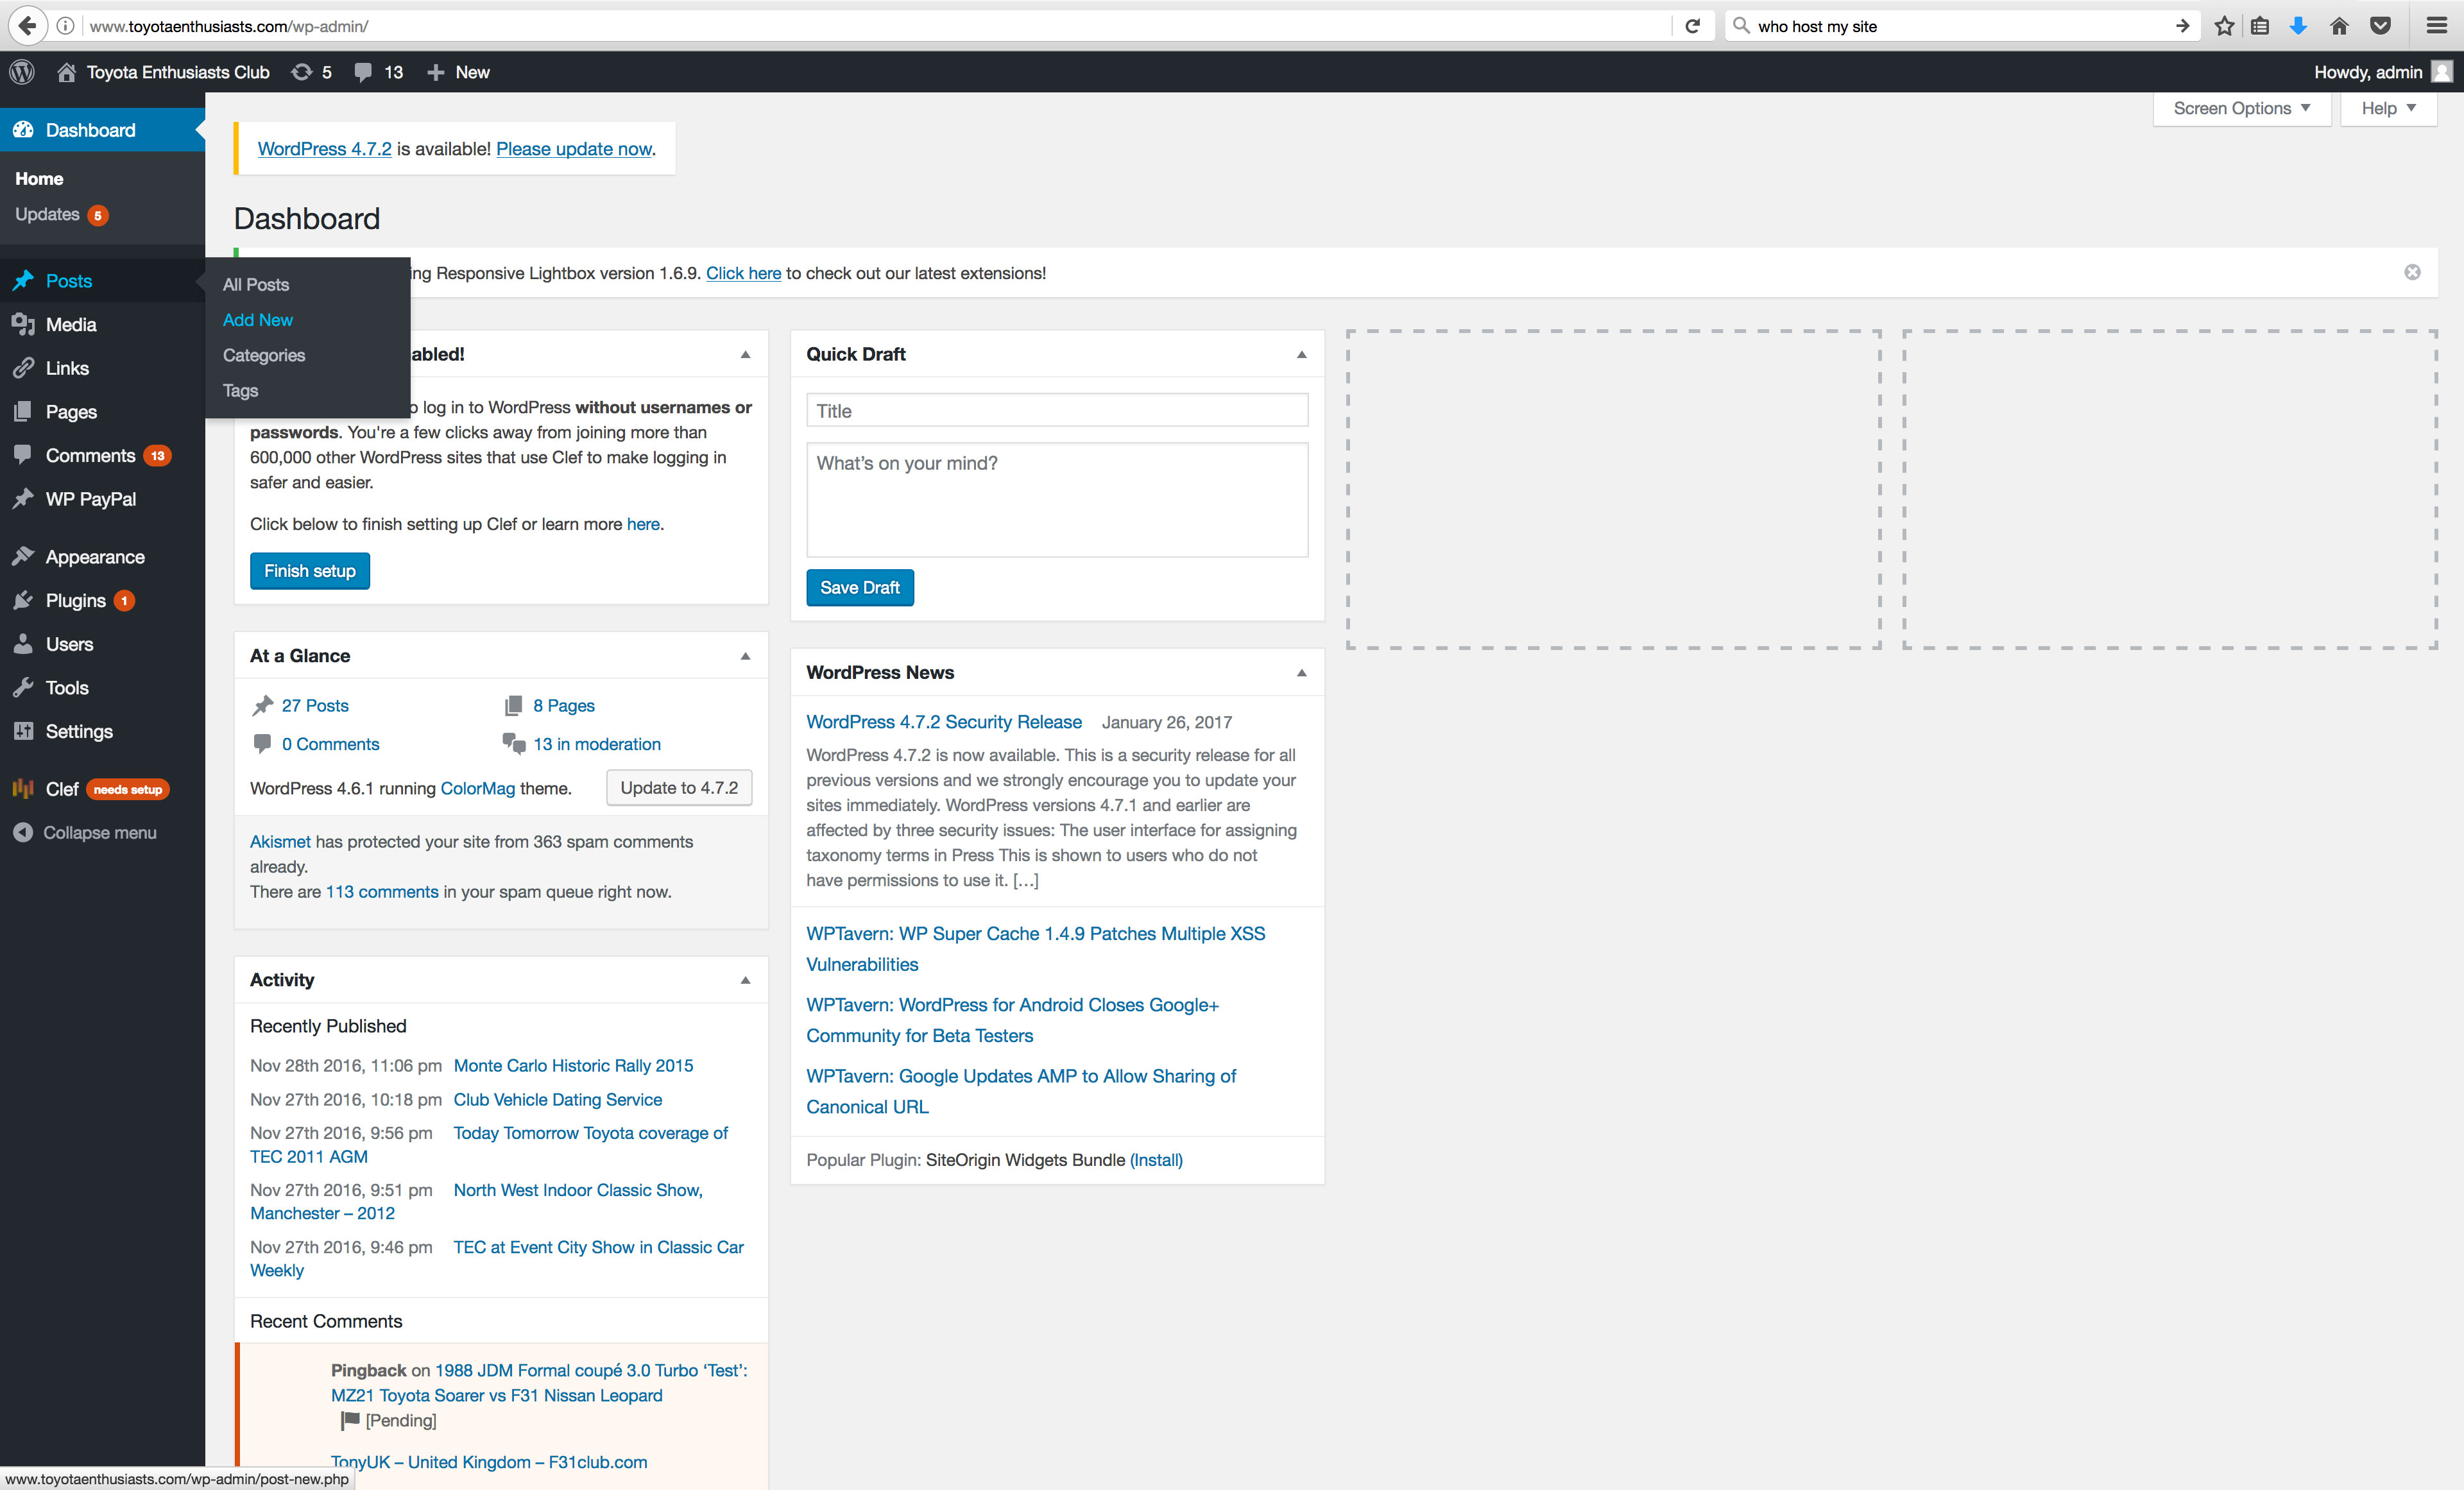
- To start of with, I will show how to add a new post. A post is the same as an article, which are on the first page of the site. This is how you create a new post. You can either hover on the word ‘posts’ and click on ‘Add new’ or you can directly click on ‘Add new’.
- Once you click on ‘Add new’, you’ll see this brand new blank post page.
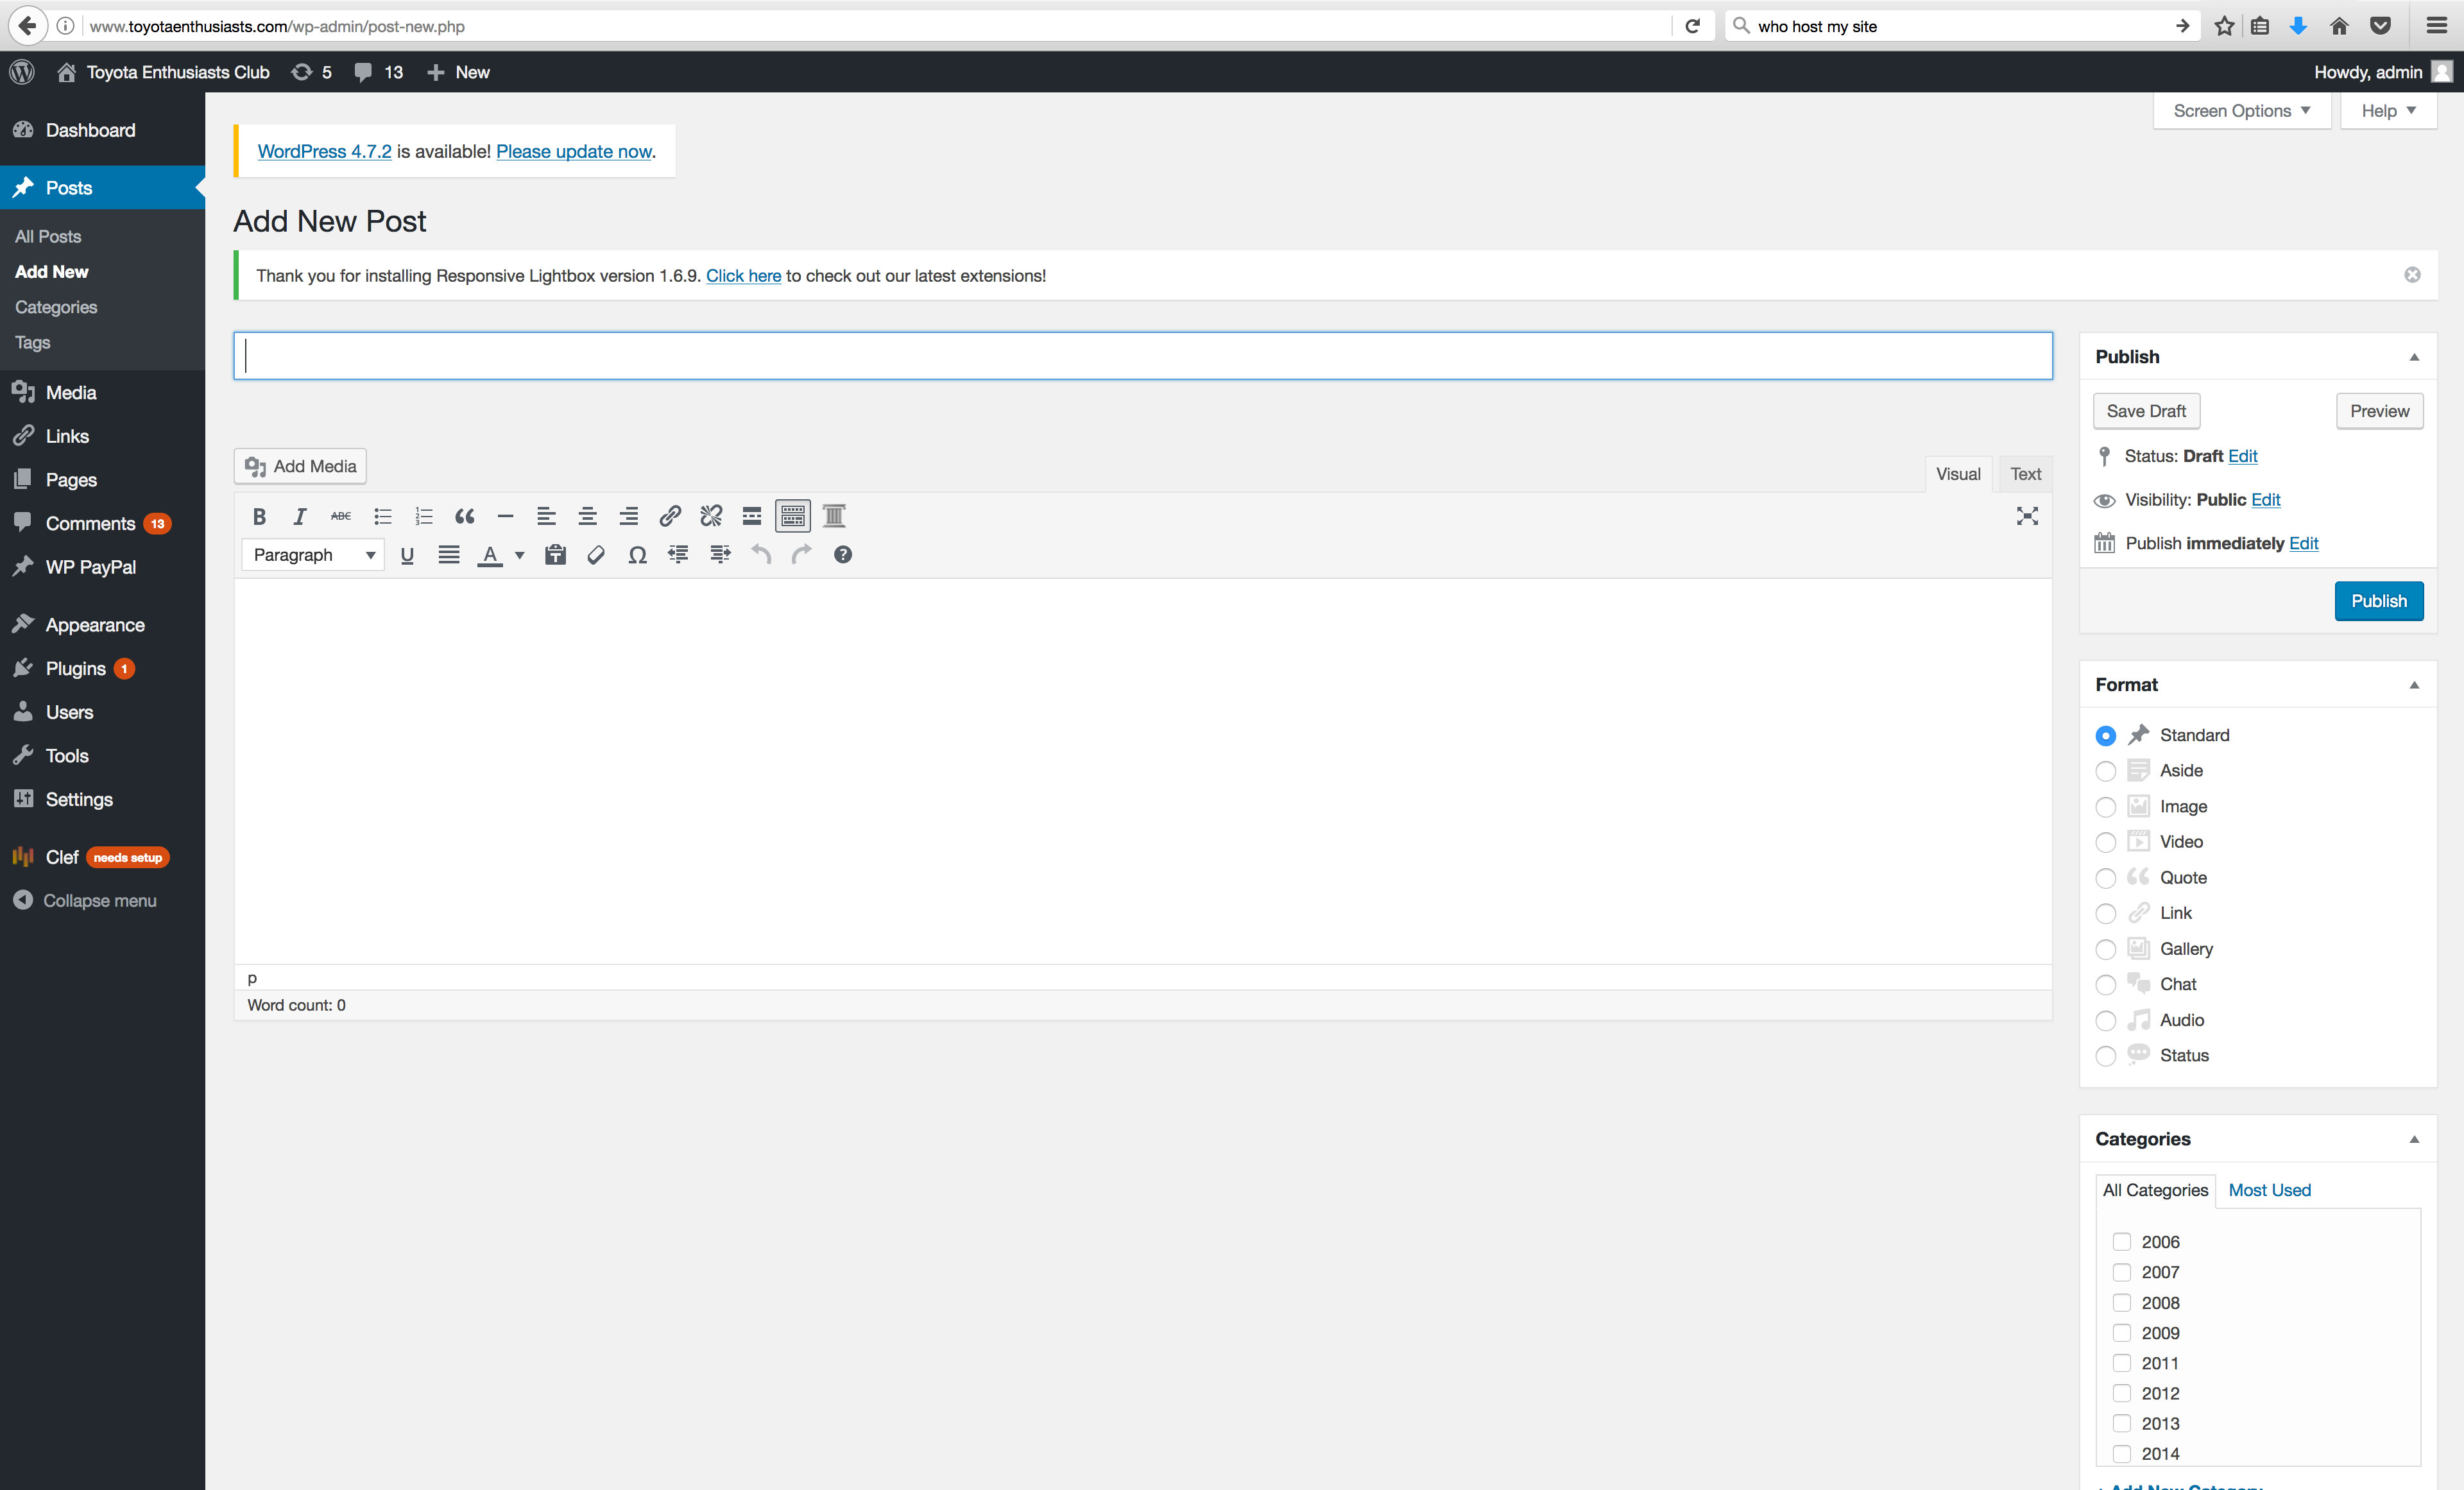
- Add a title, and write what you wish. You can copy and paste from word/text docs quite easily. There is also editor to help format the text. WordPress auto saves your document, but it’s always good practice to be over cautious – you can save the draft at any time manually.
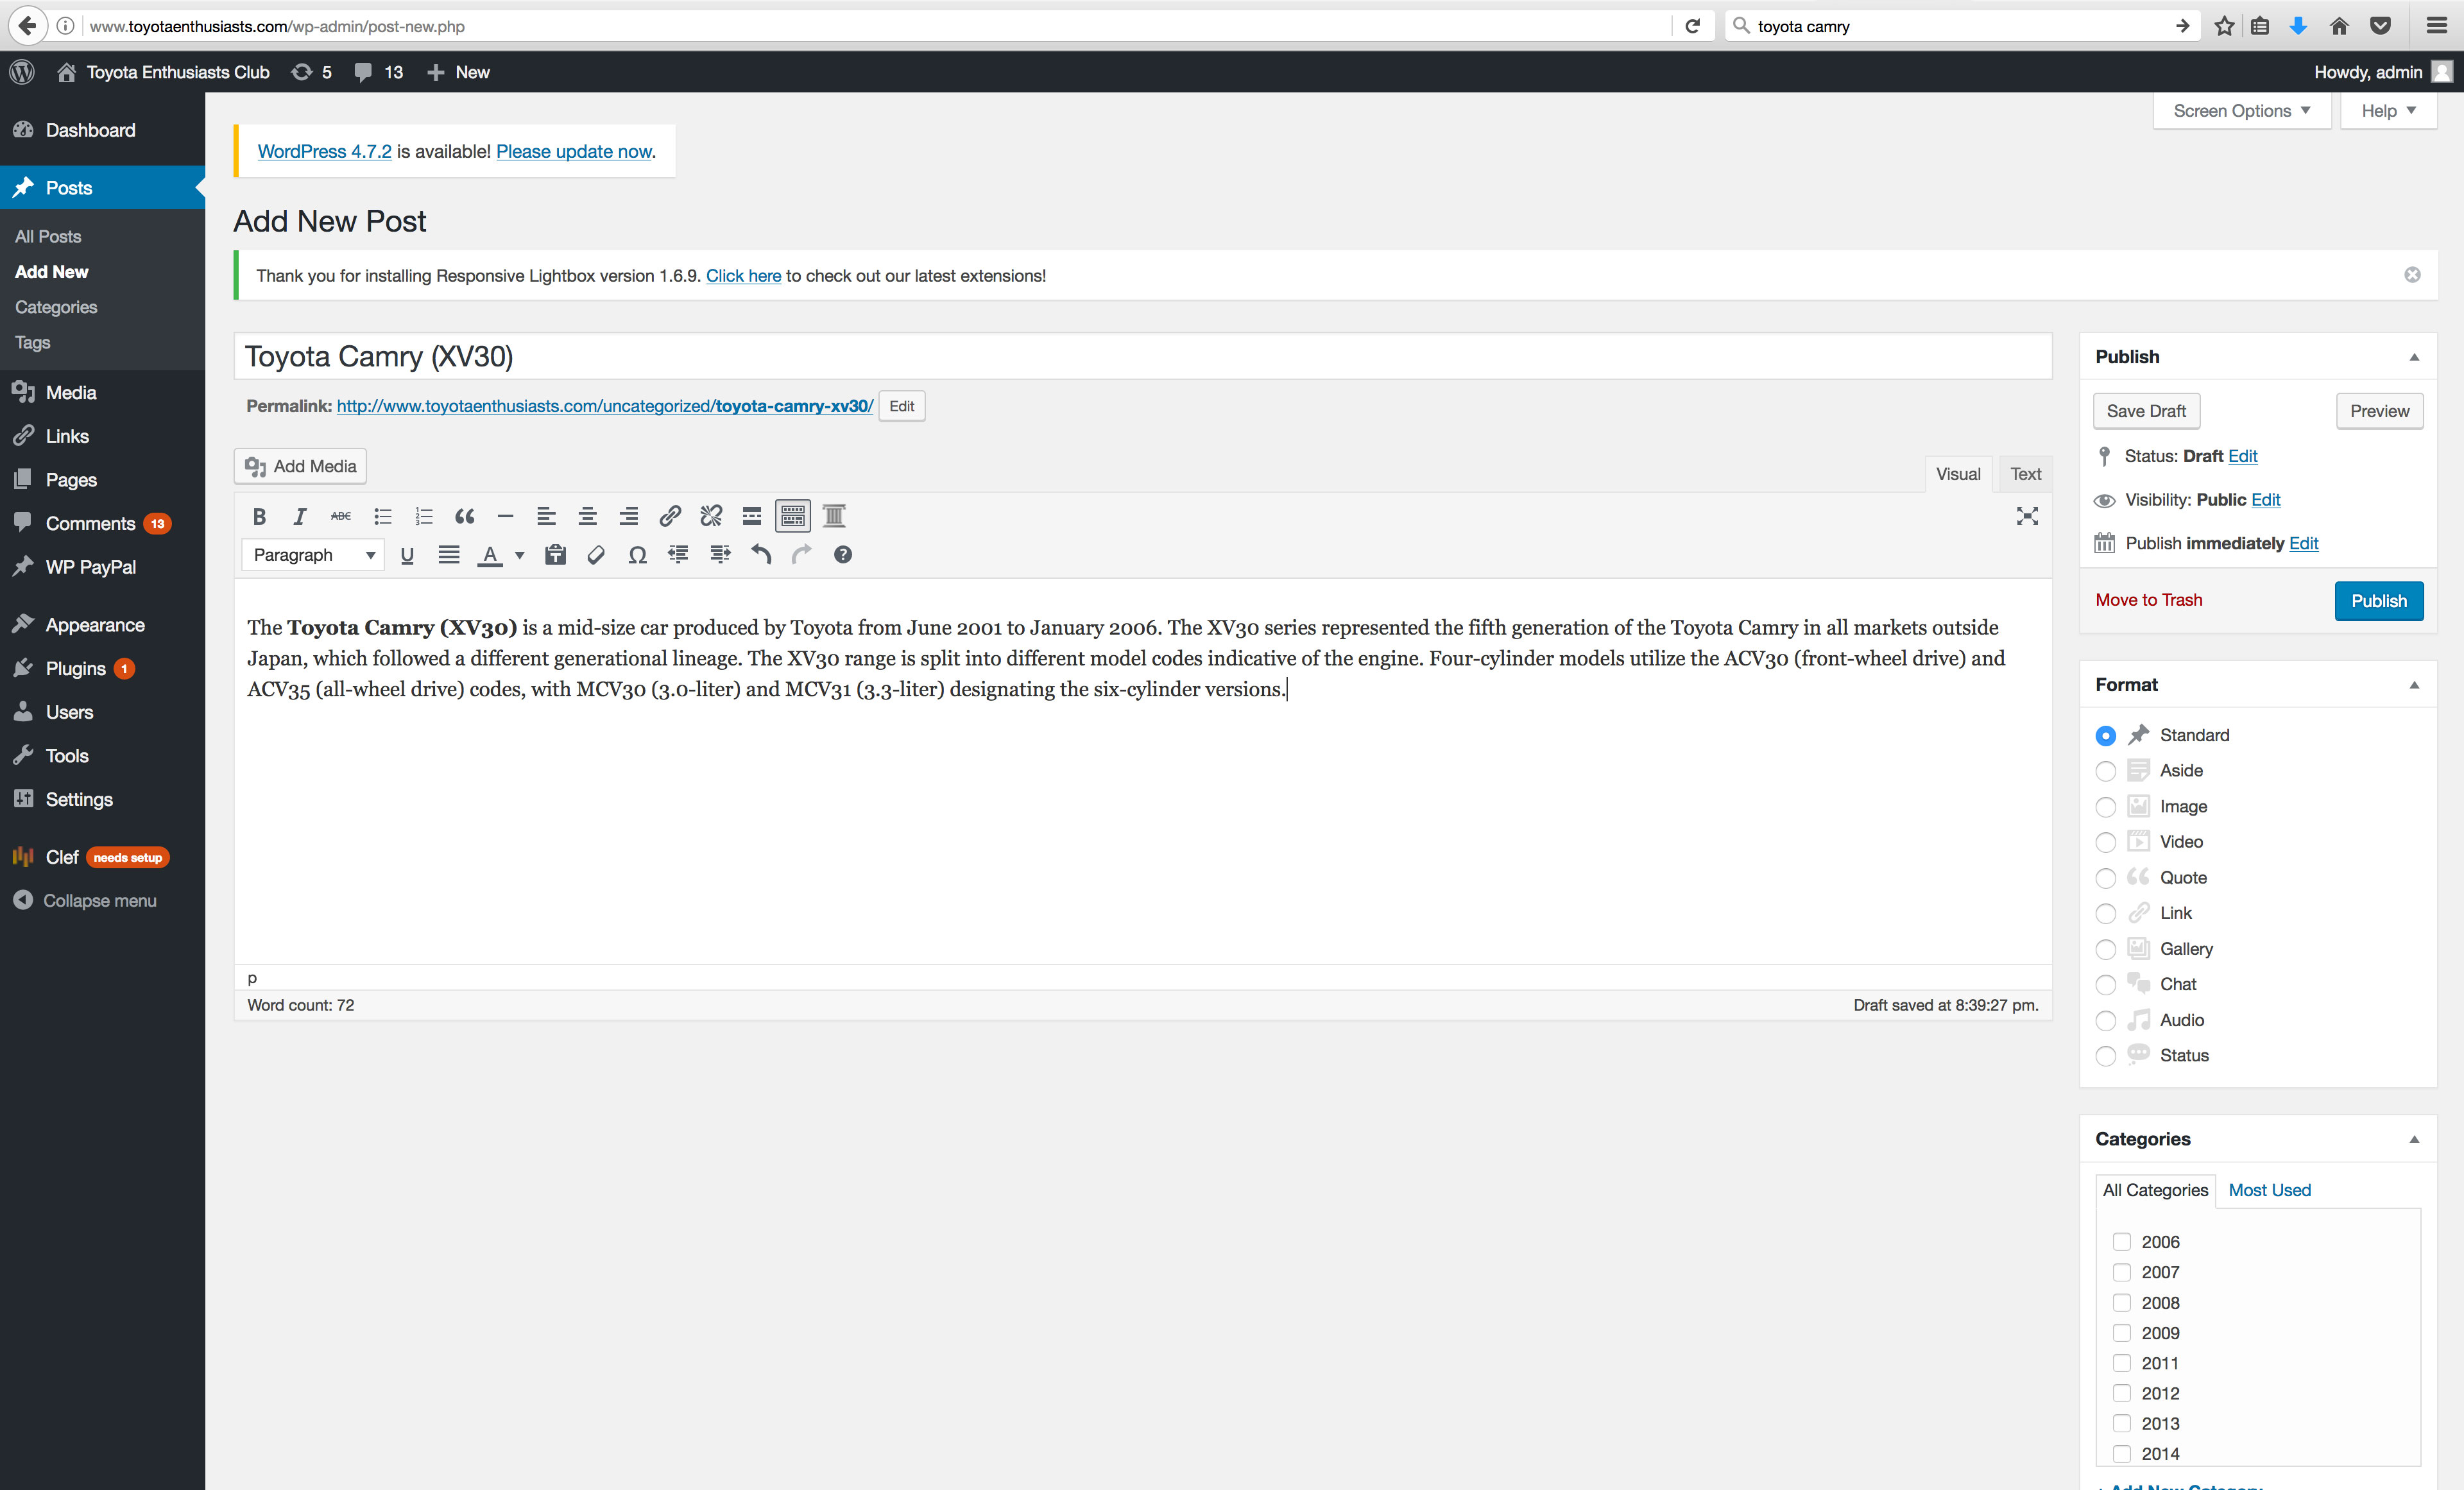
- We can also add images to the post. You need to click on the ‘Add Media’ button.
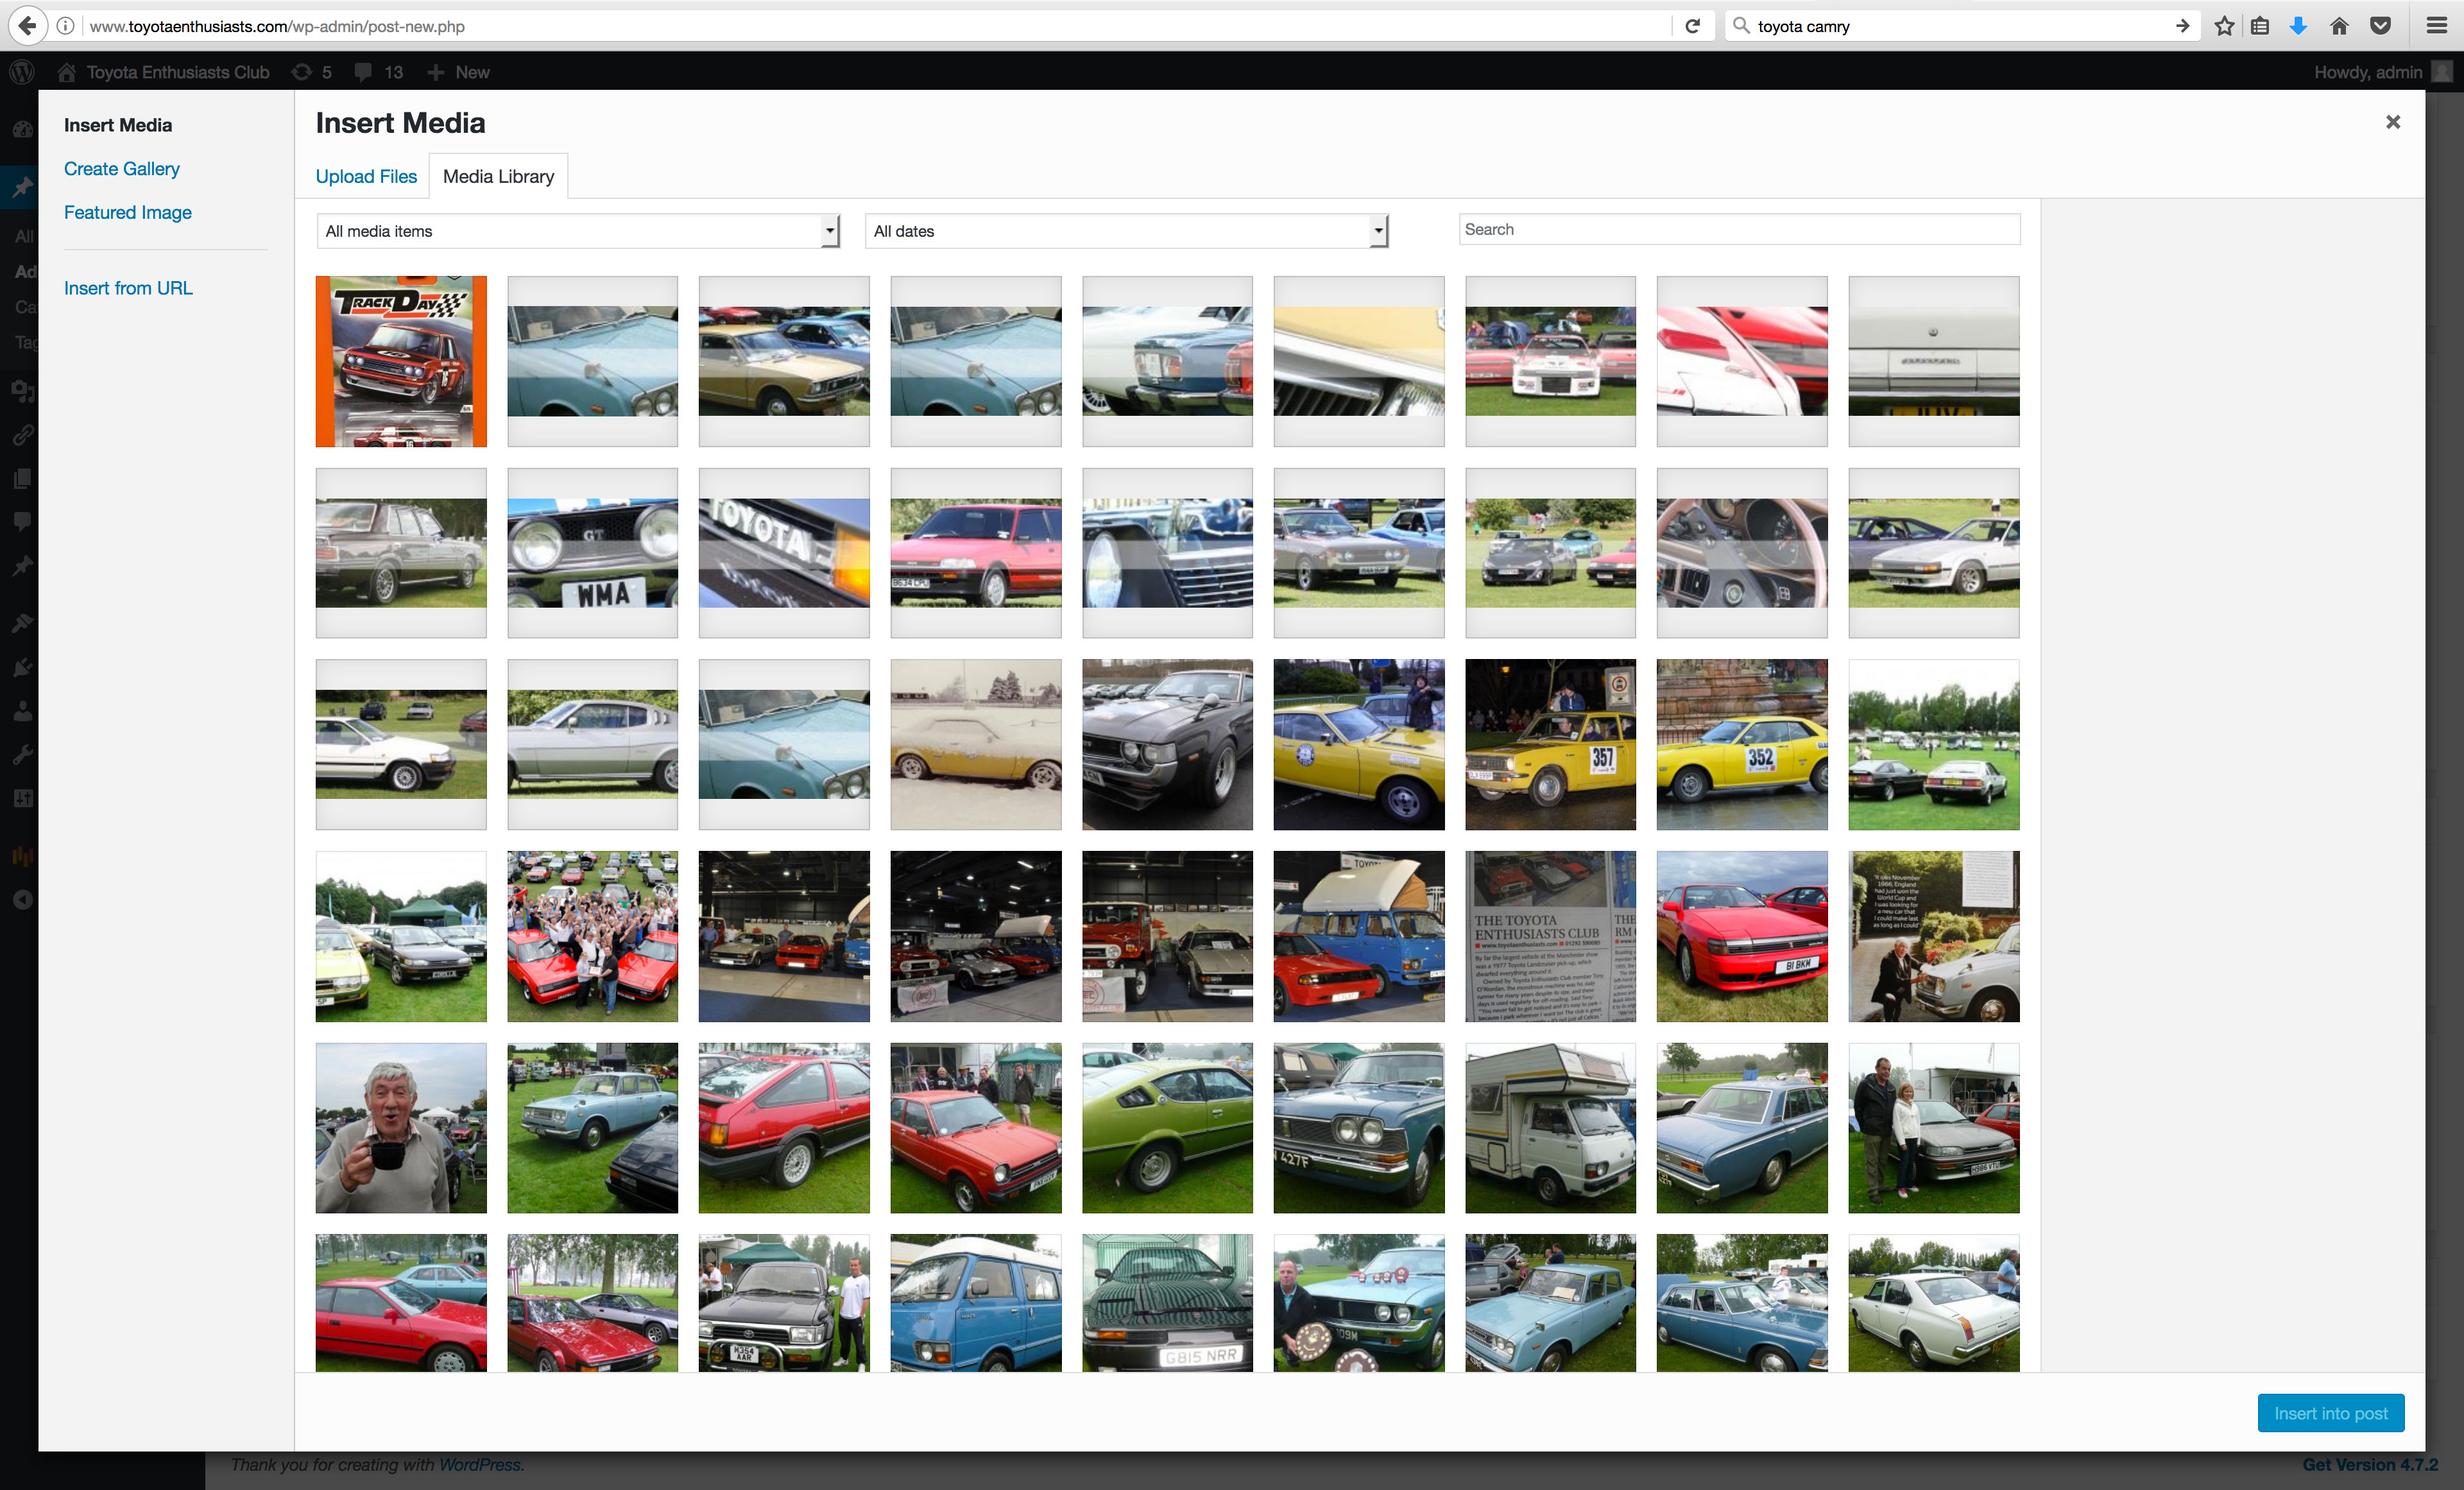
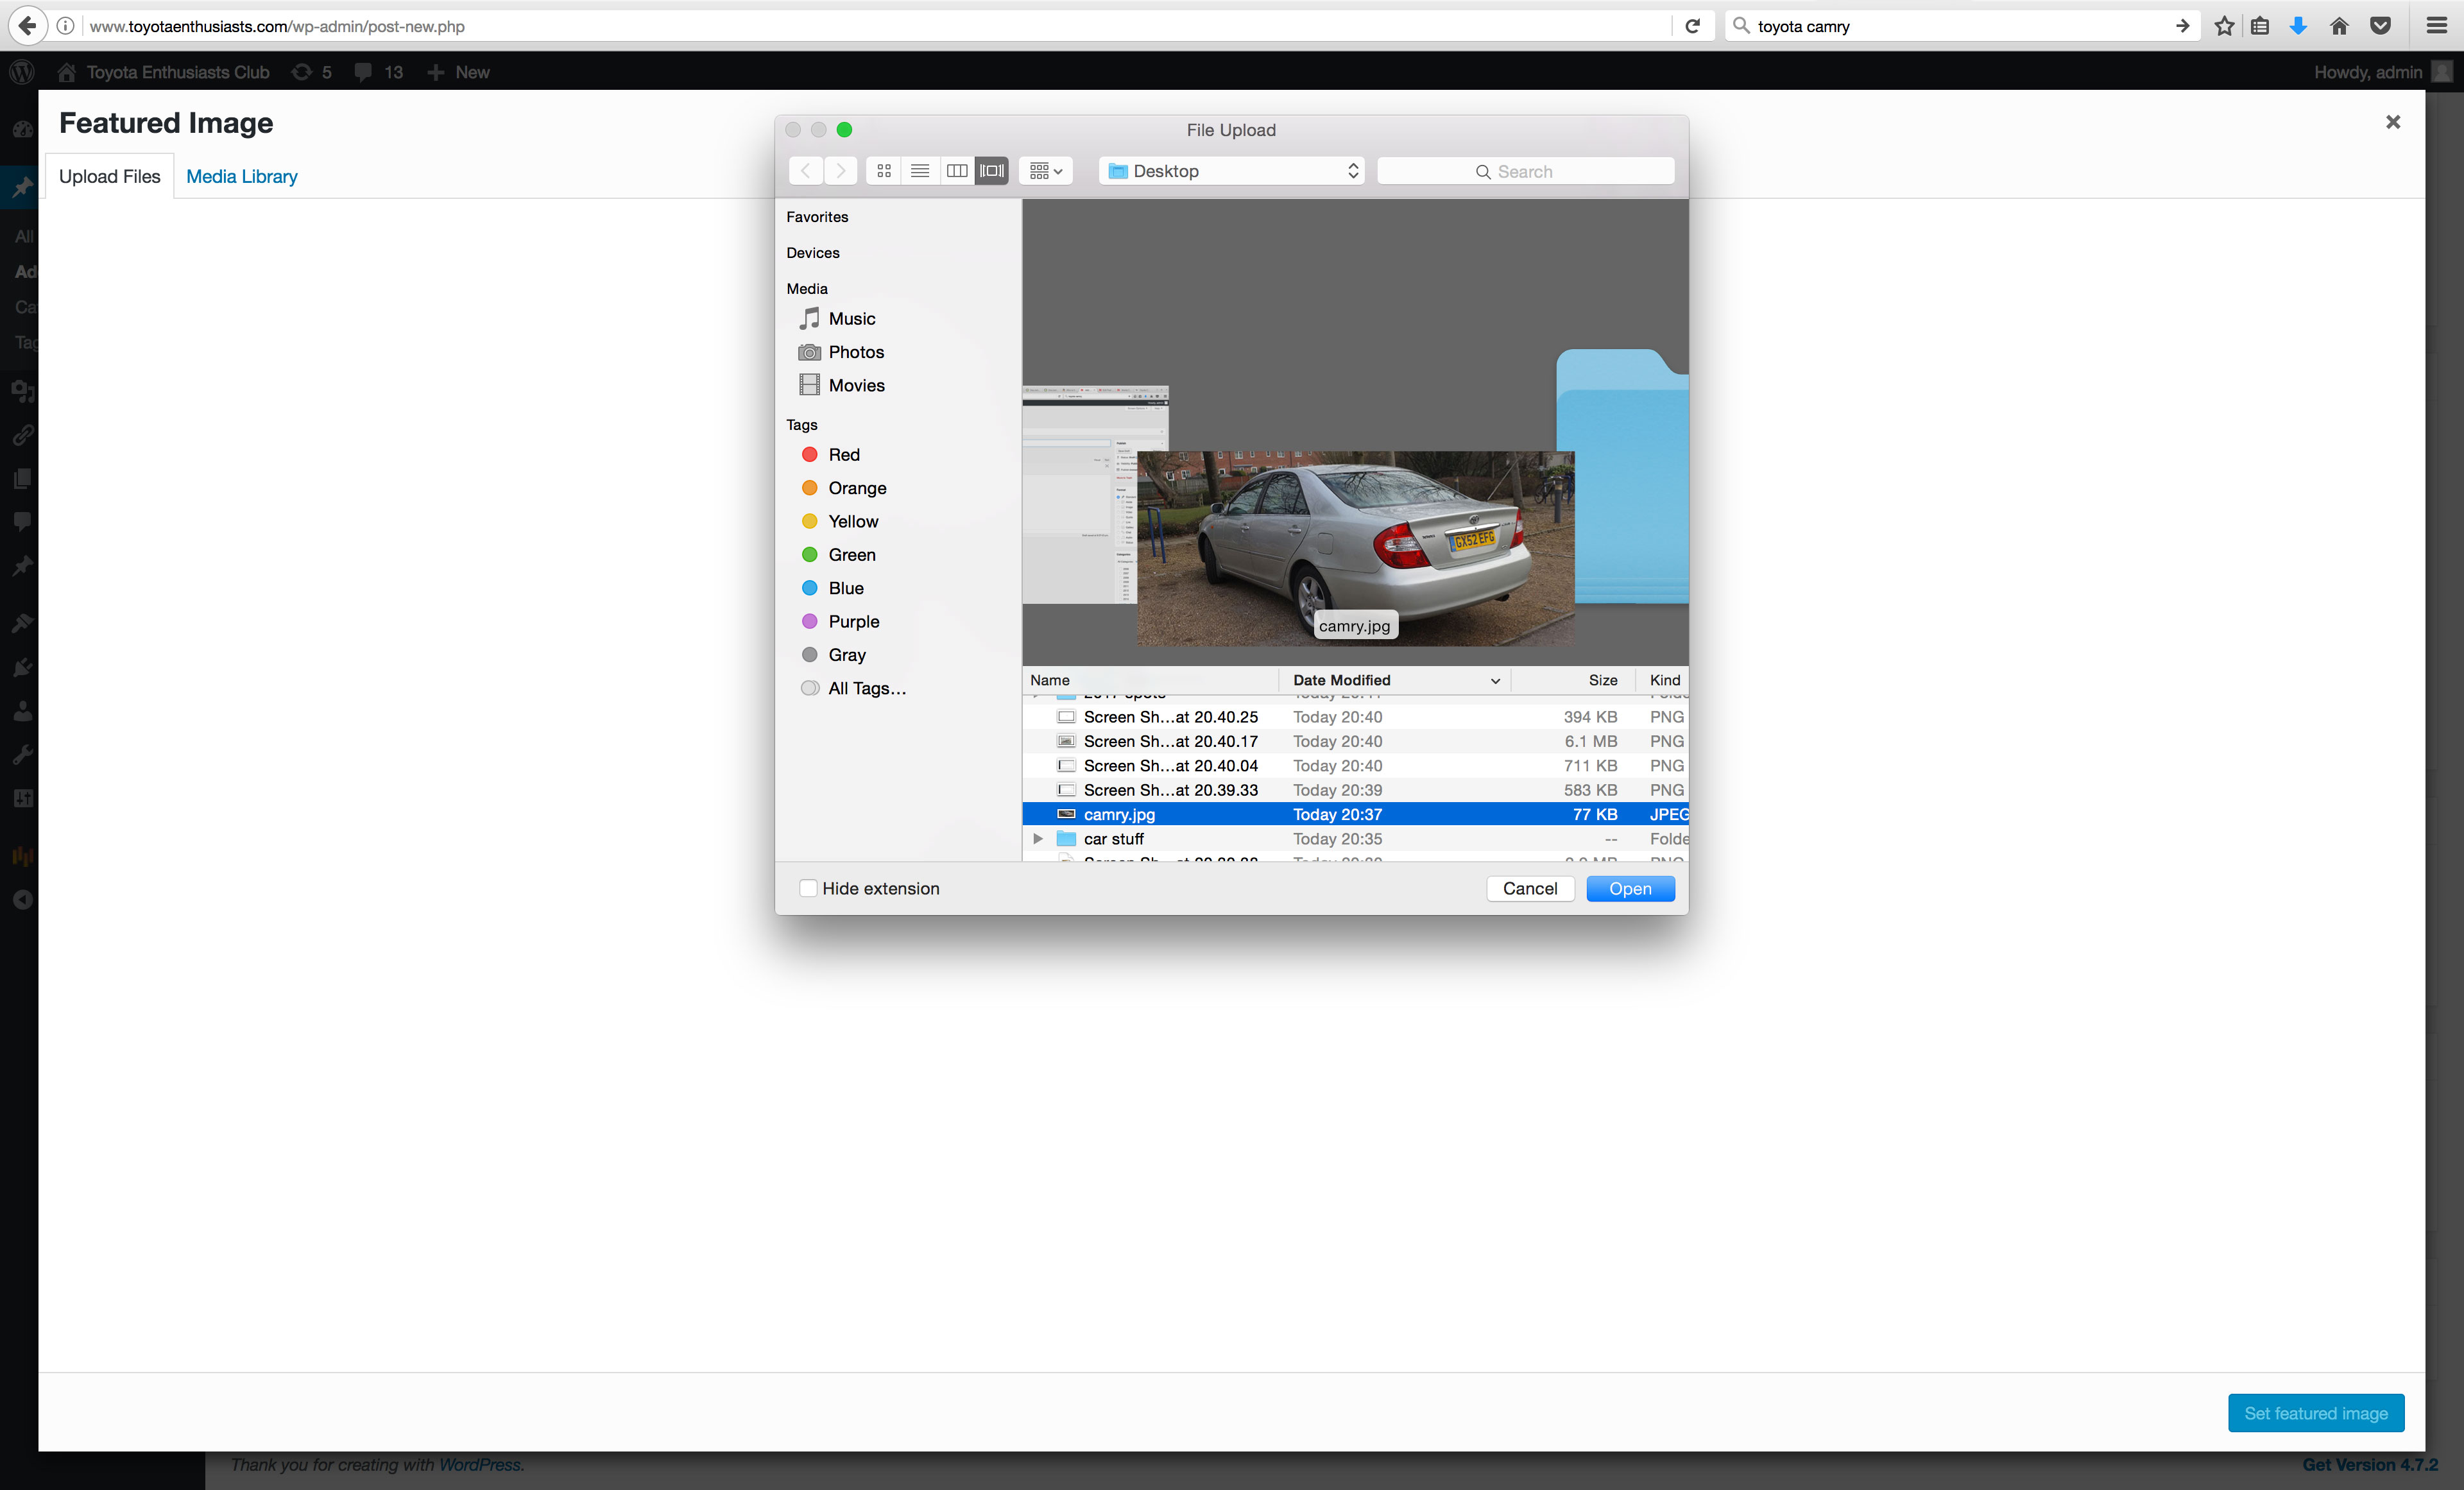
- Once you’ve clicked the ‘Add media’ button you’ll be able to access the current images on the site. However if you would like to add a new image from your computer, then you should click on the ‘Upload Files’ tab.
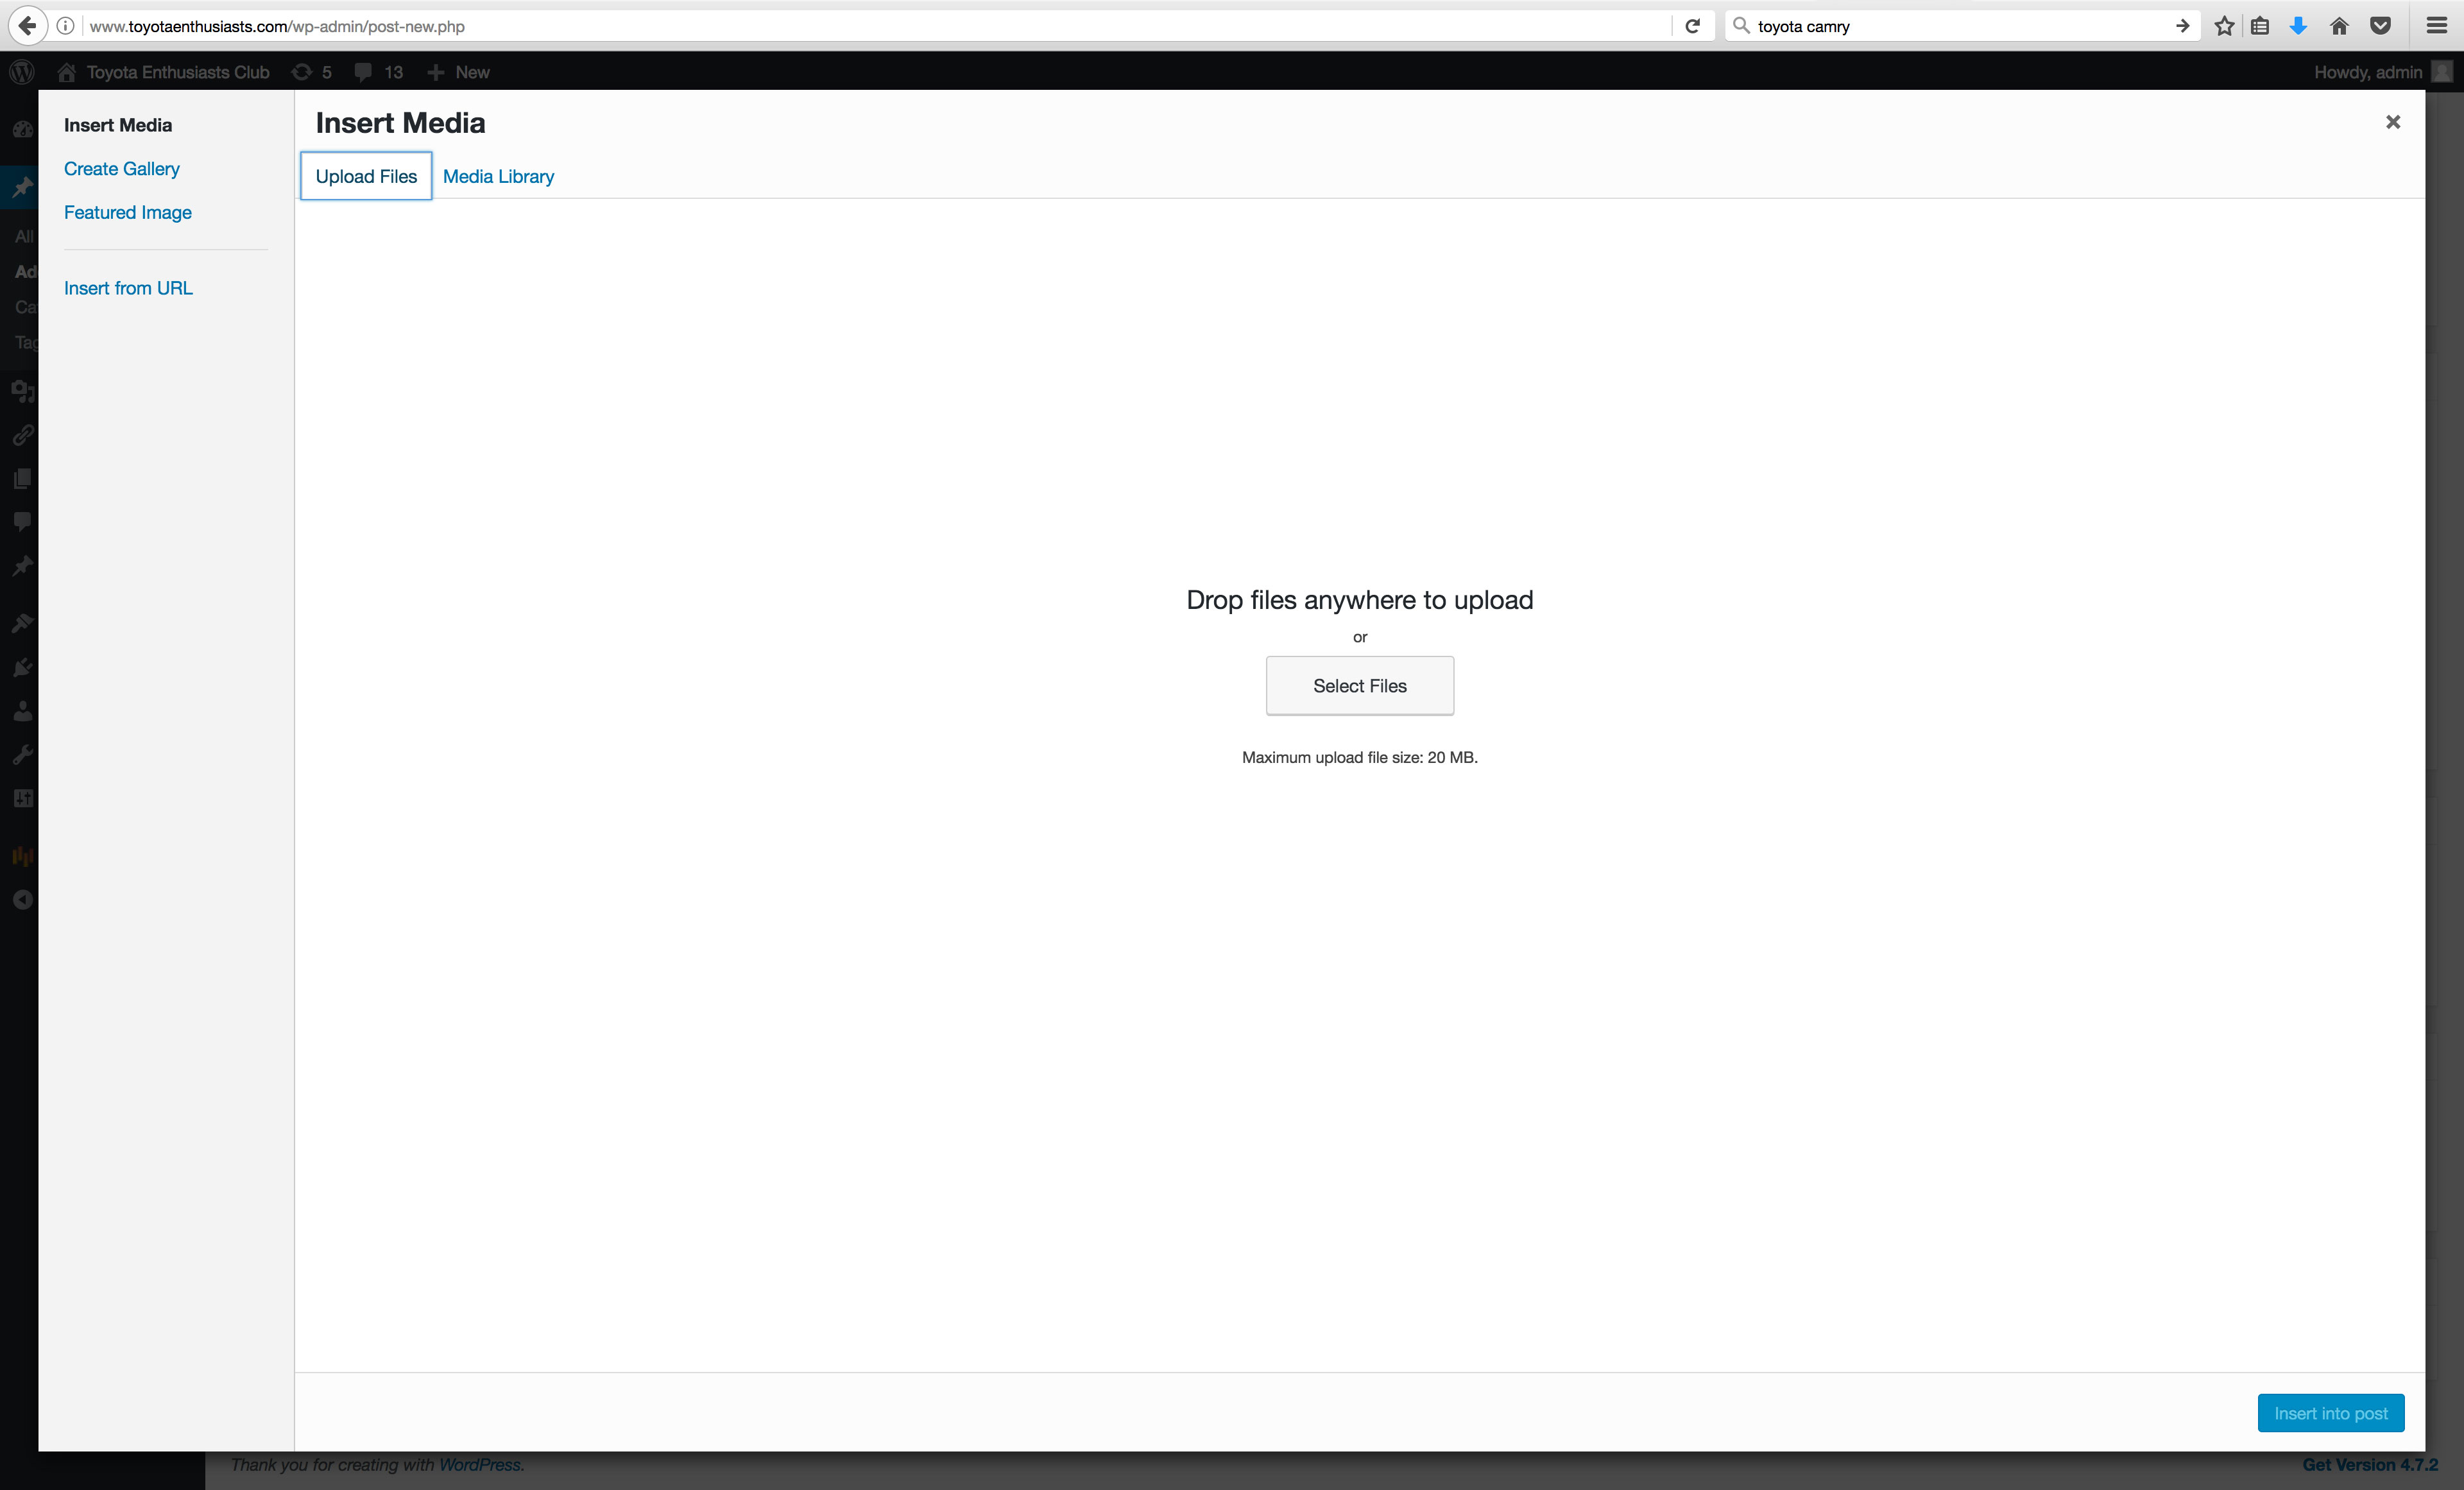
- You can drop or select files. In this instance, we will upload a file via the ‘Select files’ button which then accesses your computer.
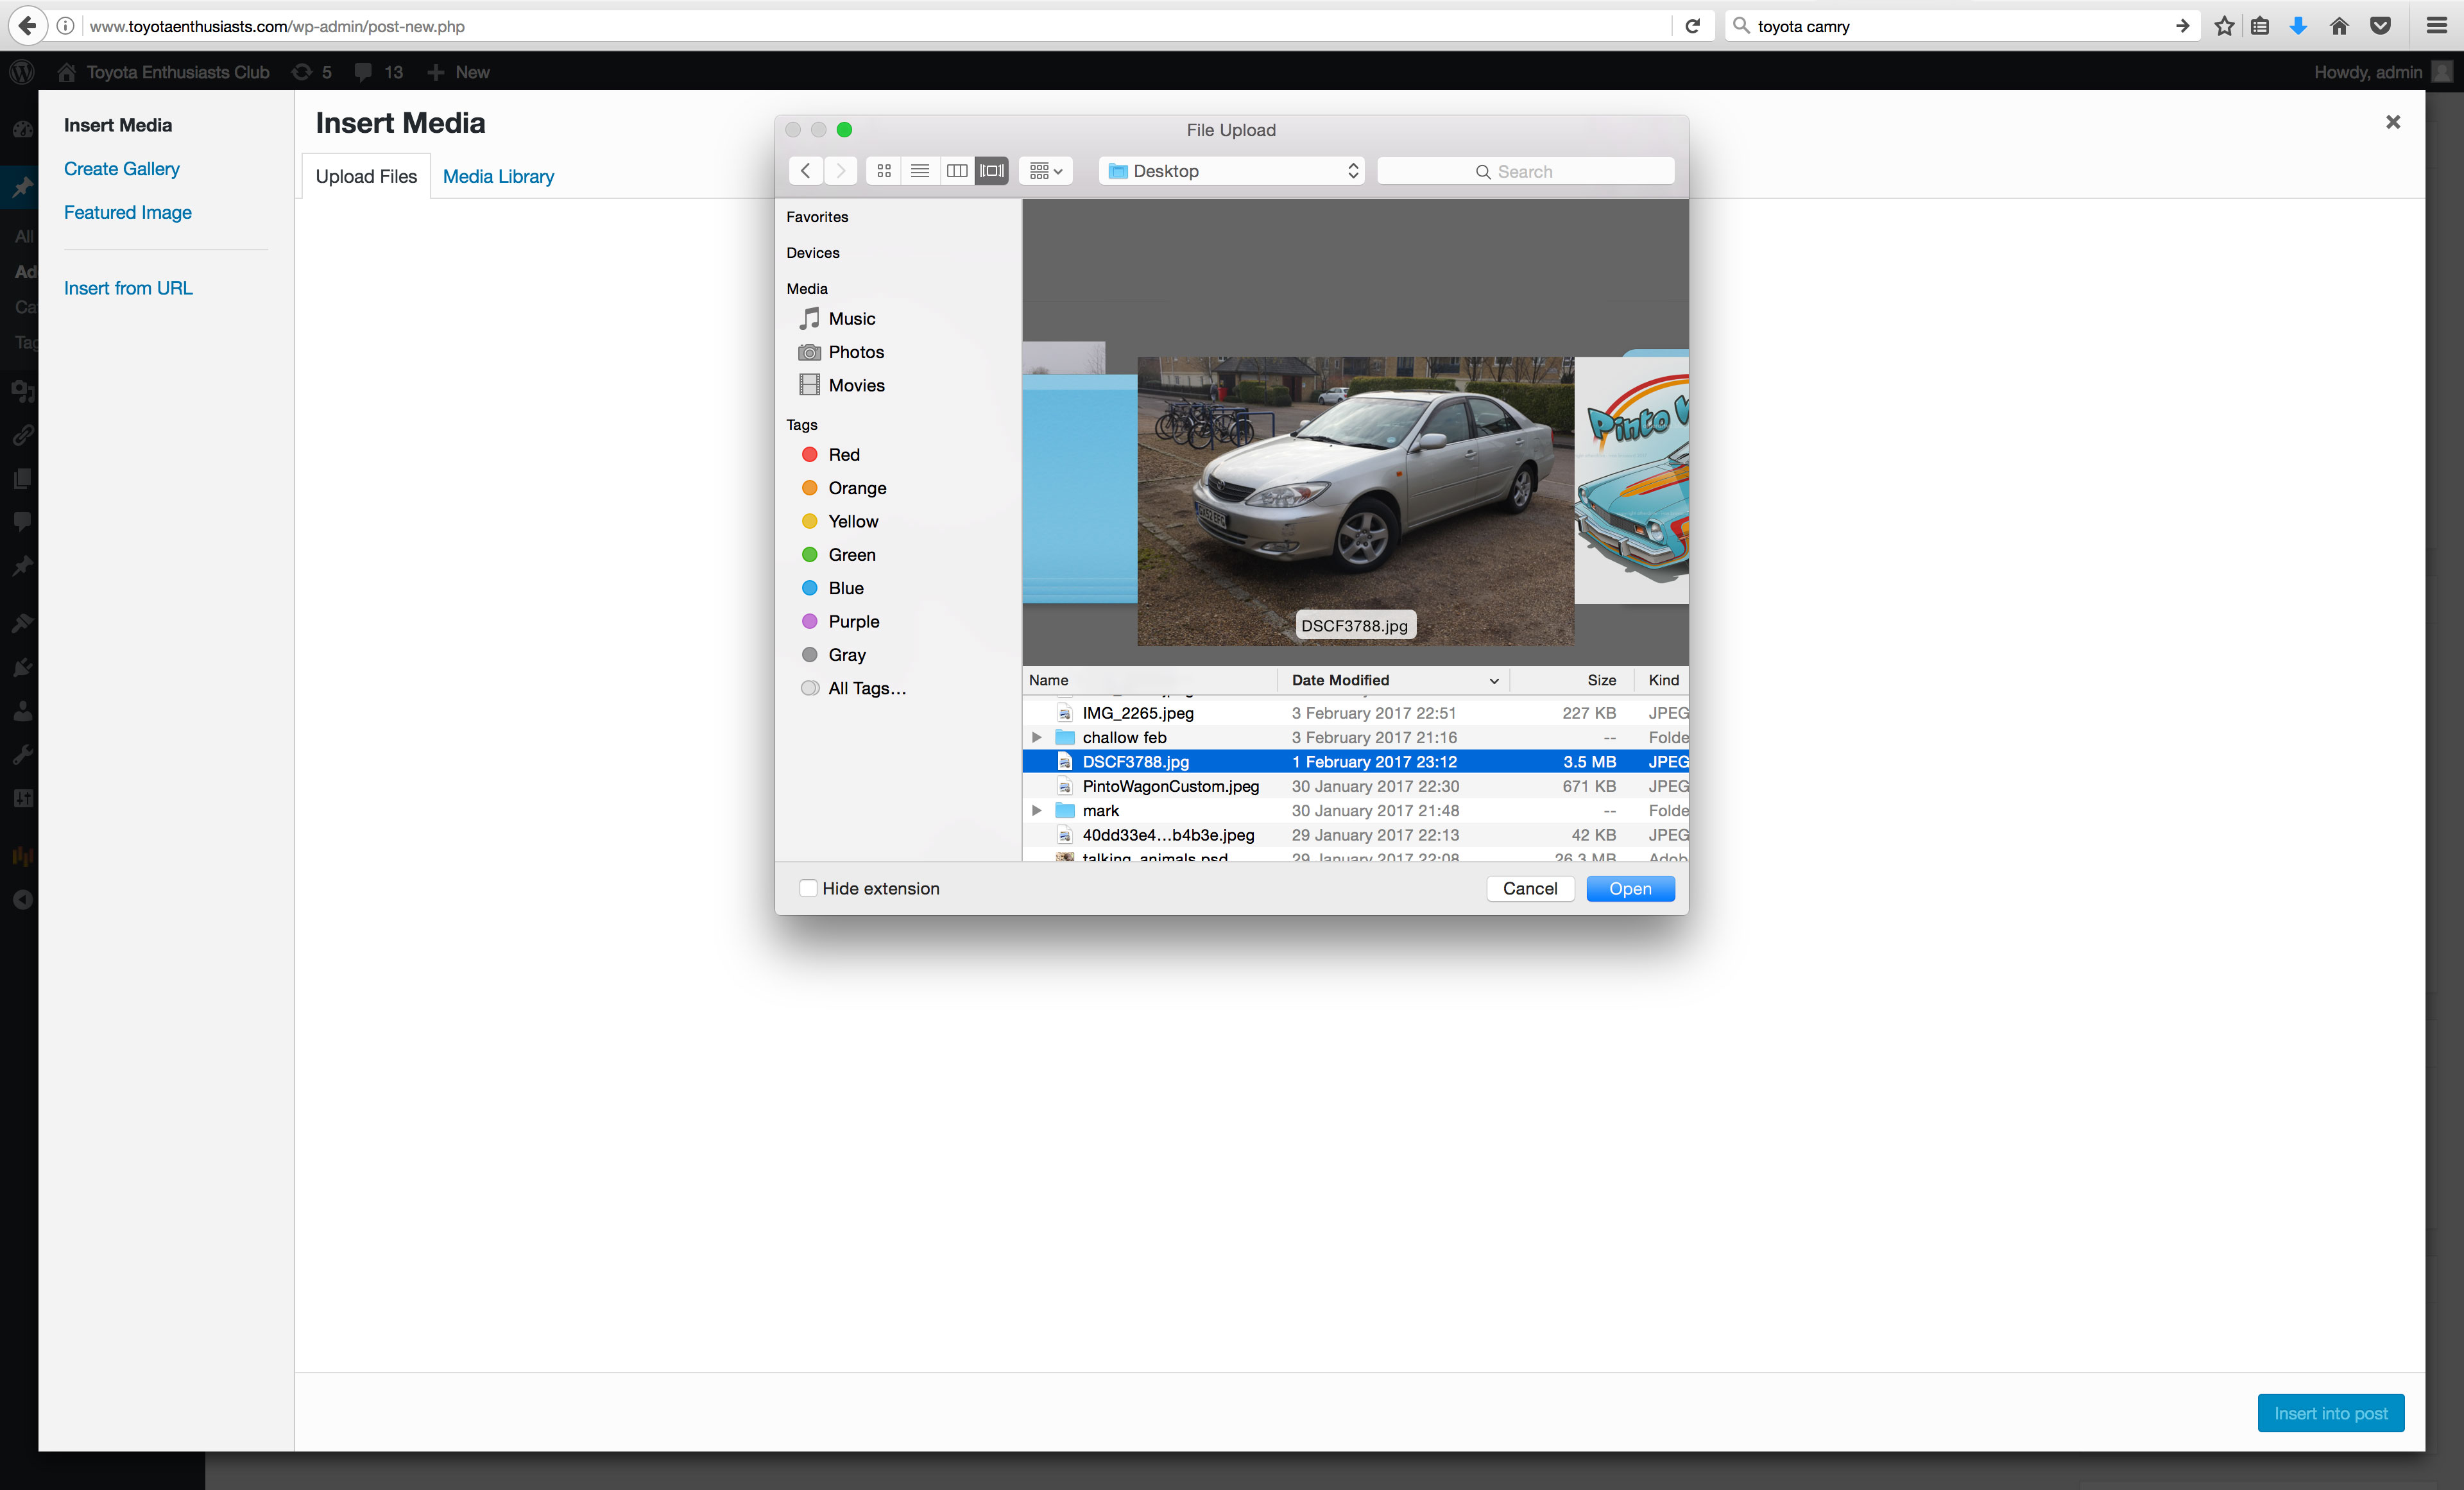
- Select the image and it will place the image to the wordpress media file directory.
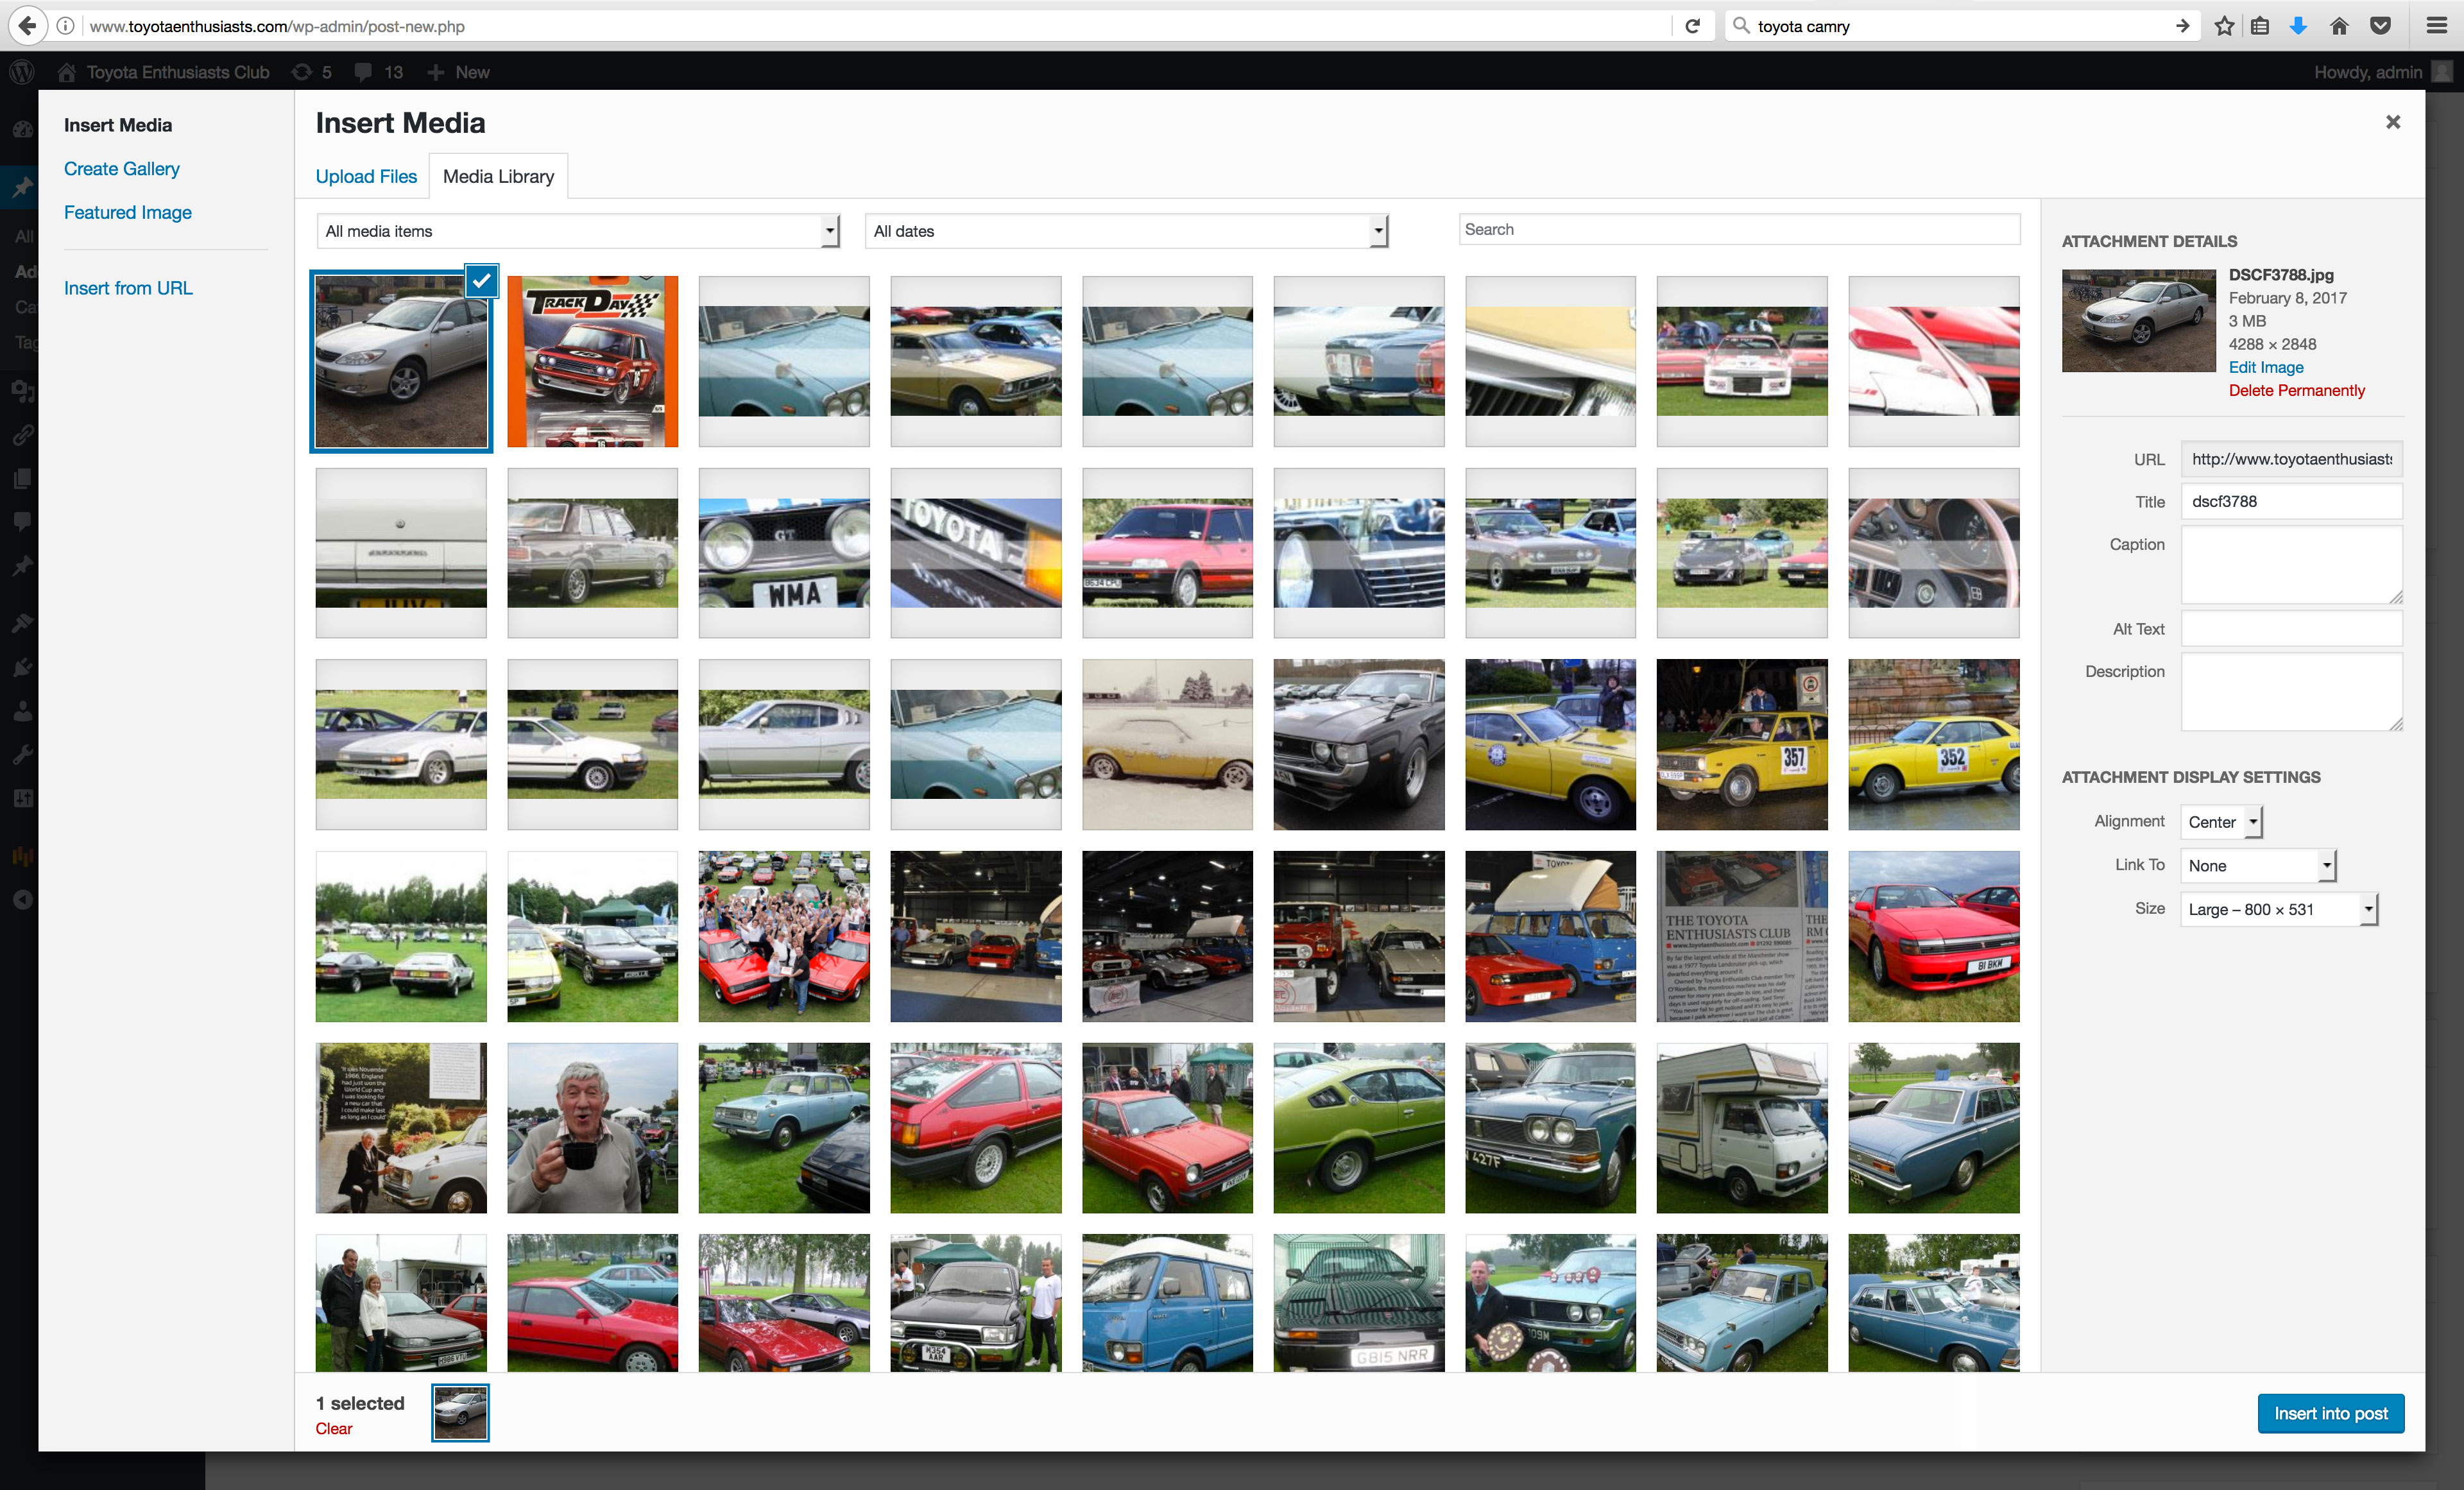
- Notice the tick next to the newly uploaded image. You can add multiple images in one go if you wish. On the right hand side you can see the further details to align, link and reduce/increase the physical size of the image. Play around with these – they’ll all make sense! I have chosen not to link the camry image (which means that it is not clickable to make bigger) Once you’re done, click on ‘Insert into post’.
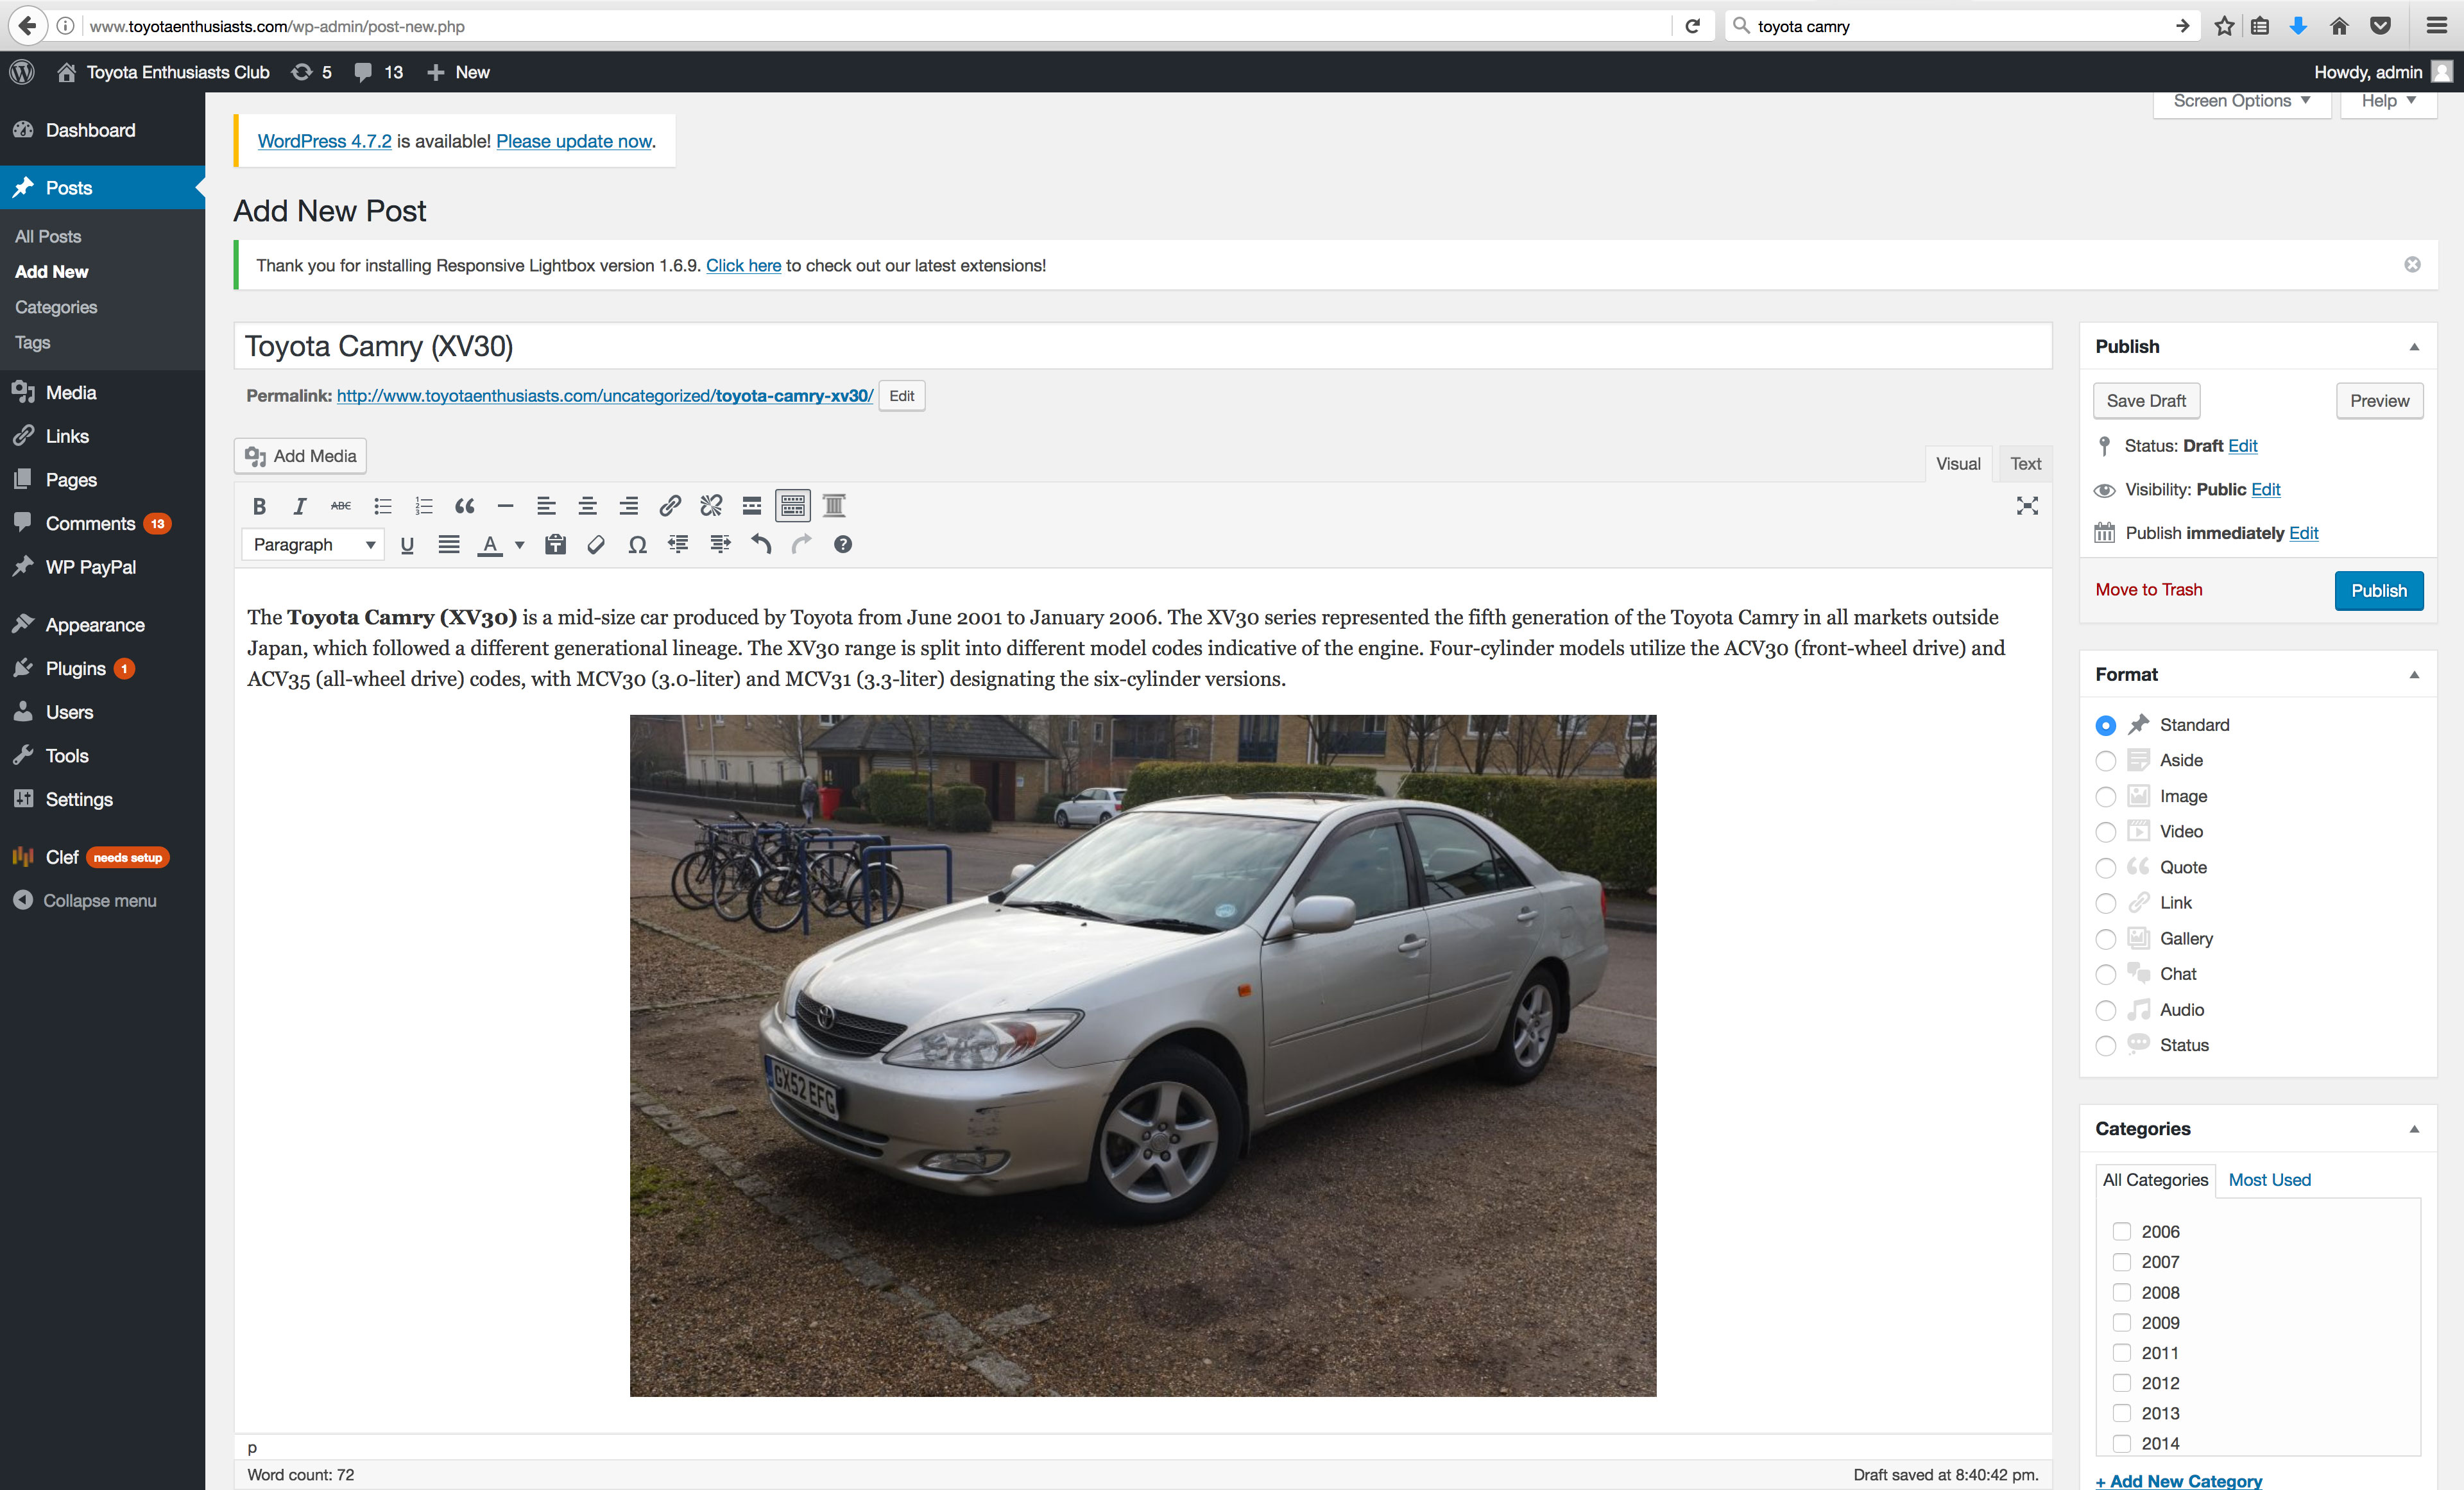
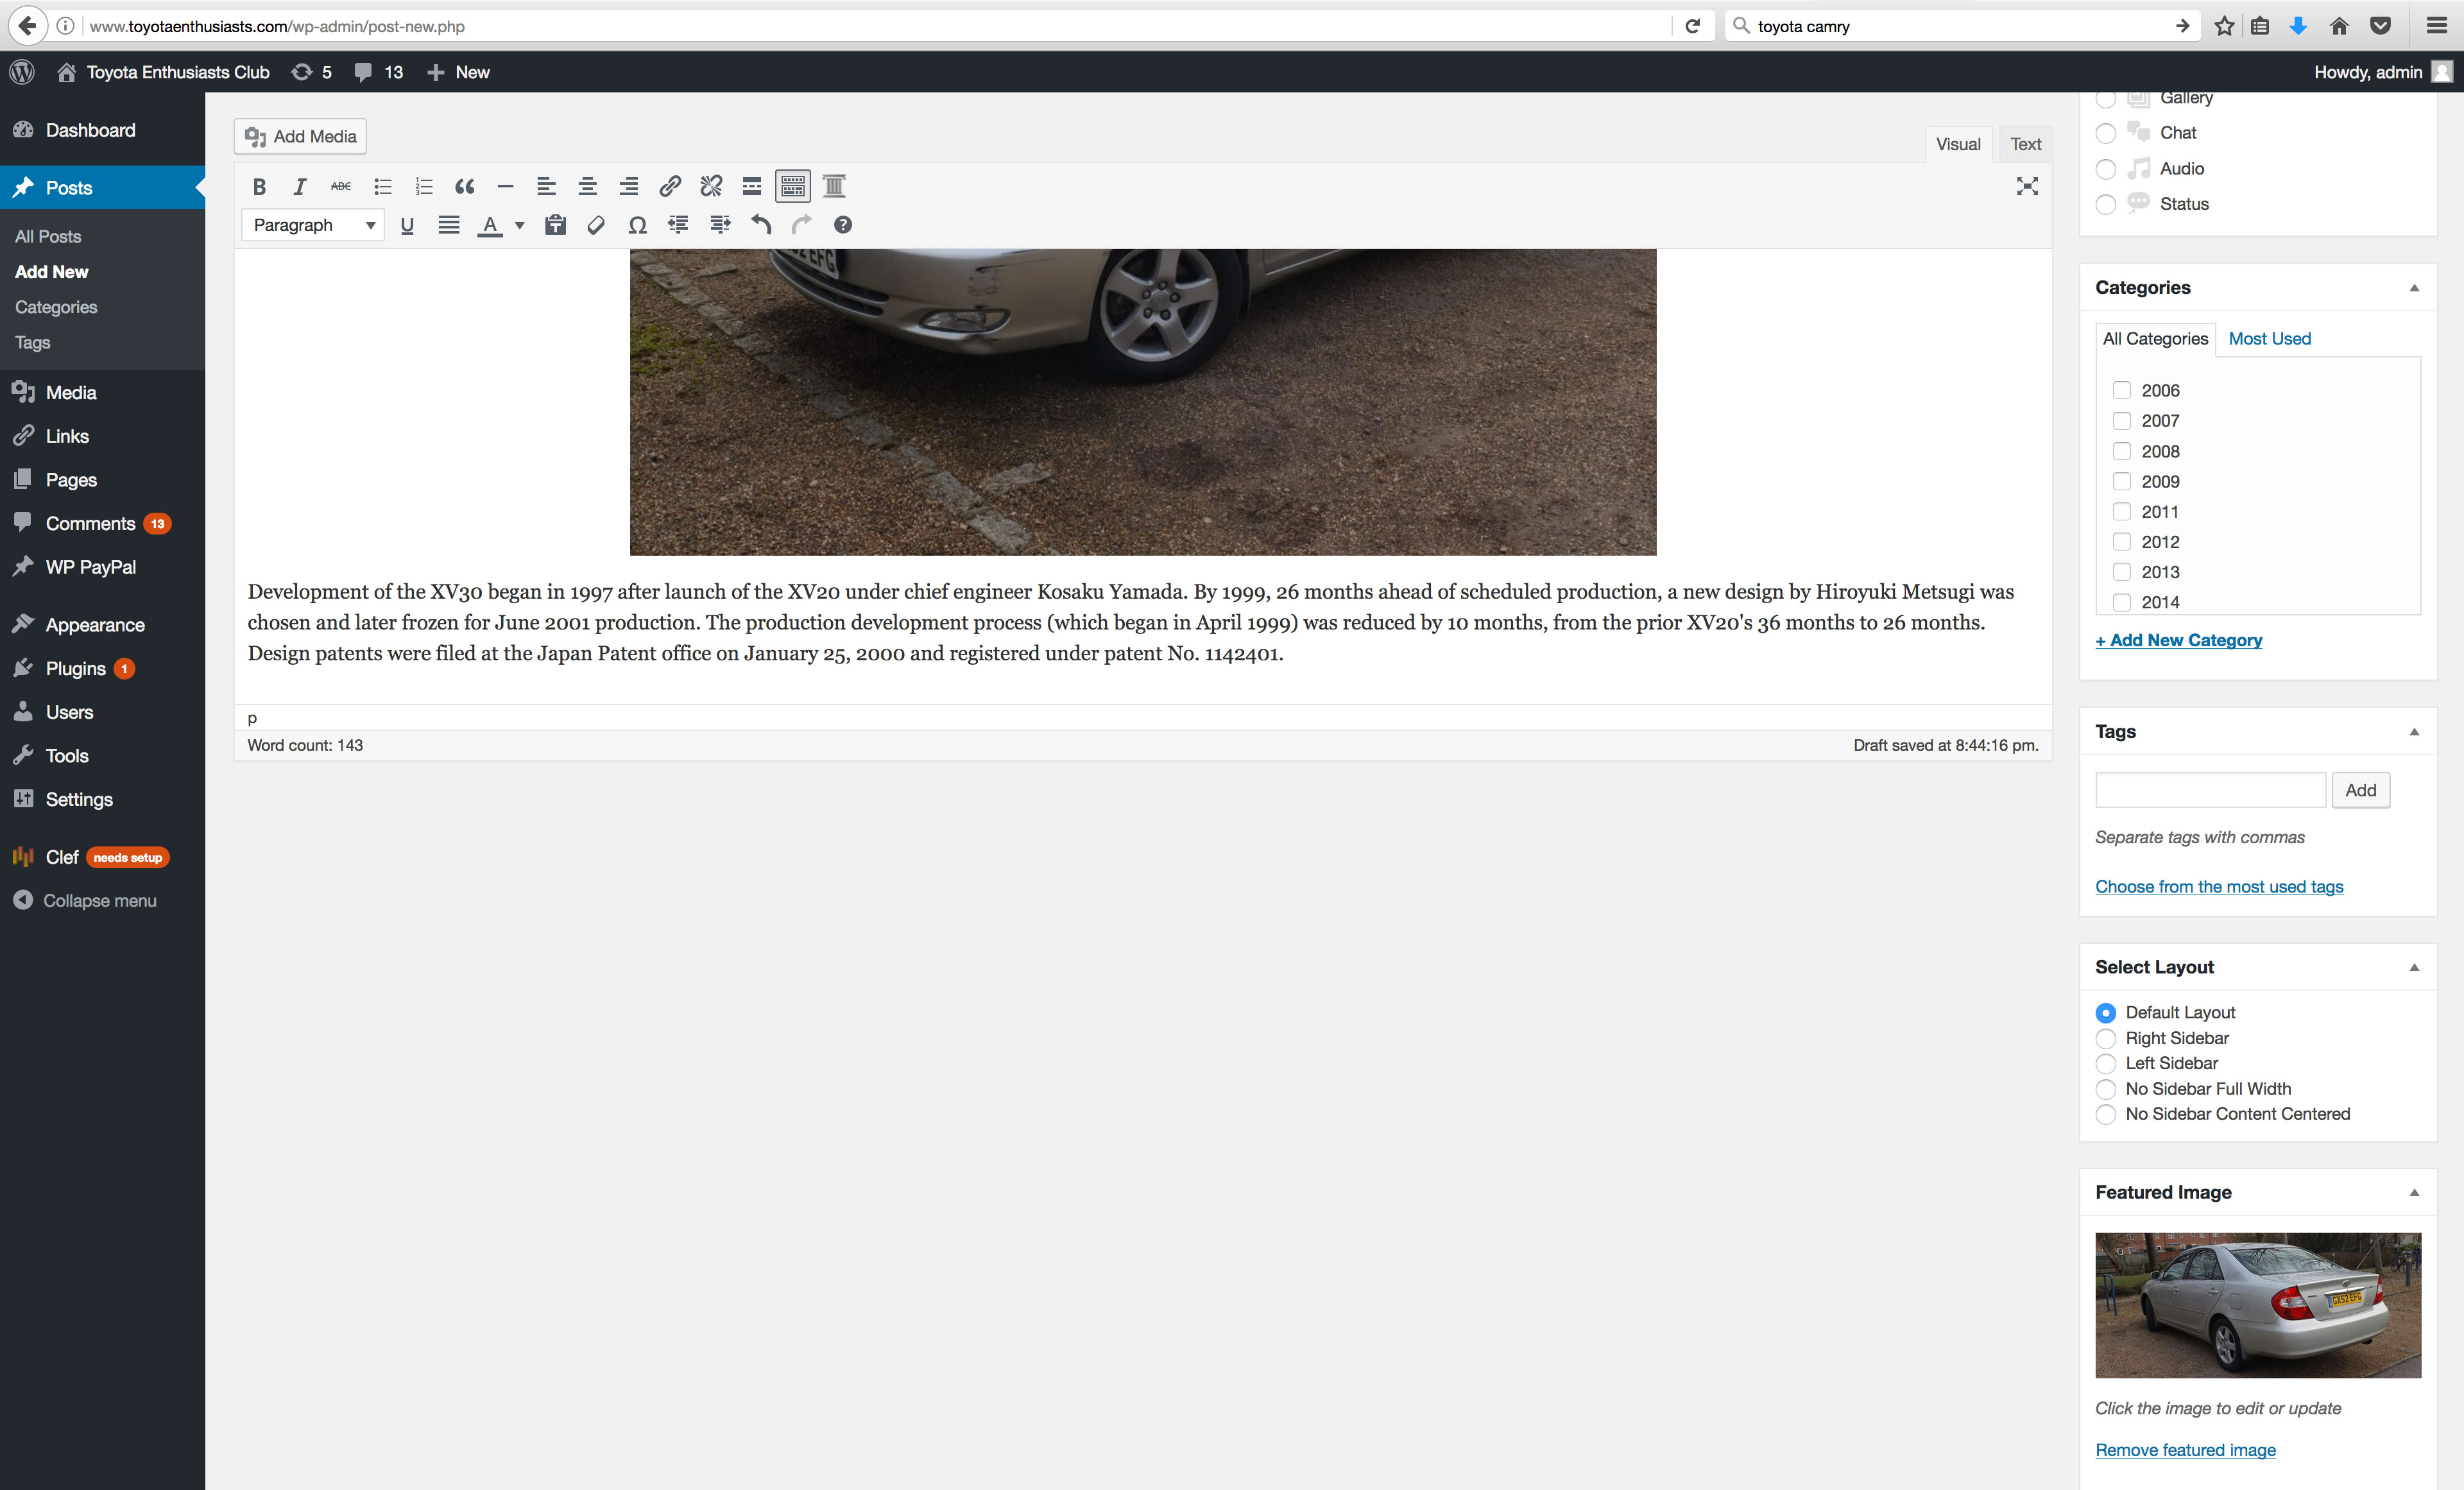
- The image of the Camry is now placed in the centre of the page. You can add additional text underneath the image if you wish. You can also delete the image if you’re not happy with it. You can do this by clicking on it, and clicking on the ‘x’. It will not delete the image from the system just the post. On top of every post I have also created a header image – this not only appears on the top of the page but also as an image on the articles page on the home page. This will become clear when you follow the next steps. On the bottom right hand side of the page you’ll see a ‘Featured Image’ area. Click on the ‘Set featured image’.
- This allows you to upload an image – following the same procedure as the previous media upload steps. Note that I have cropped the image into a pillar box sixed rectangle via post production – this is so it will not take up too much space on the home articles page.
- The image you have uploaded will now show up as a featured image, as shown below.
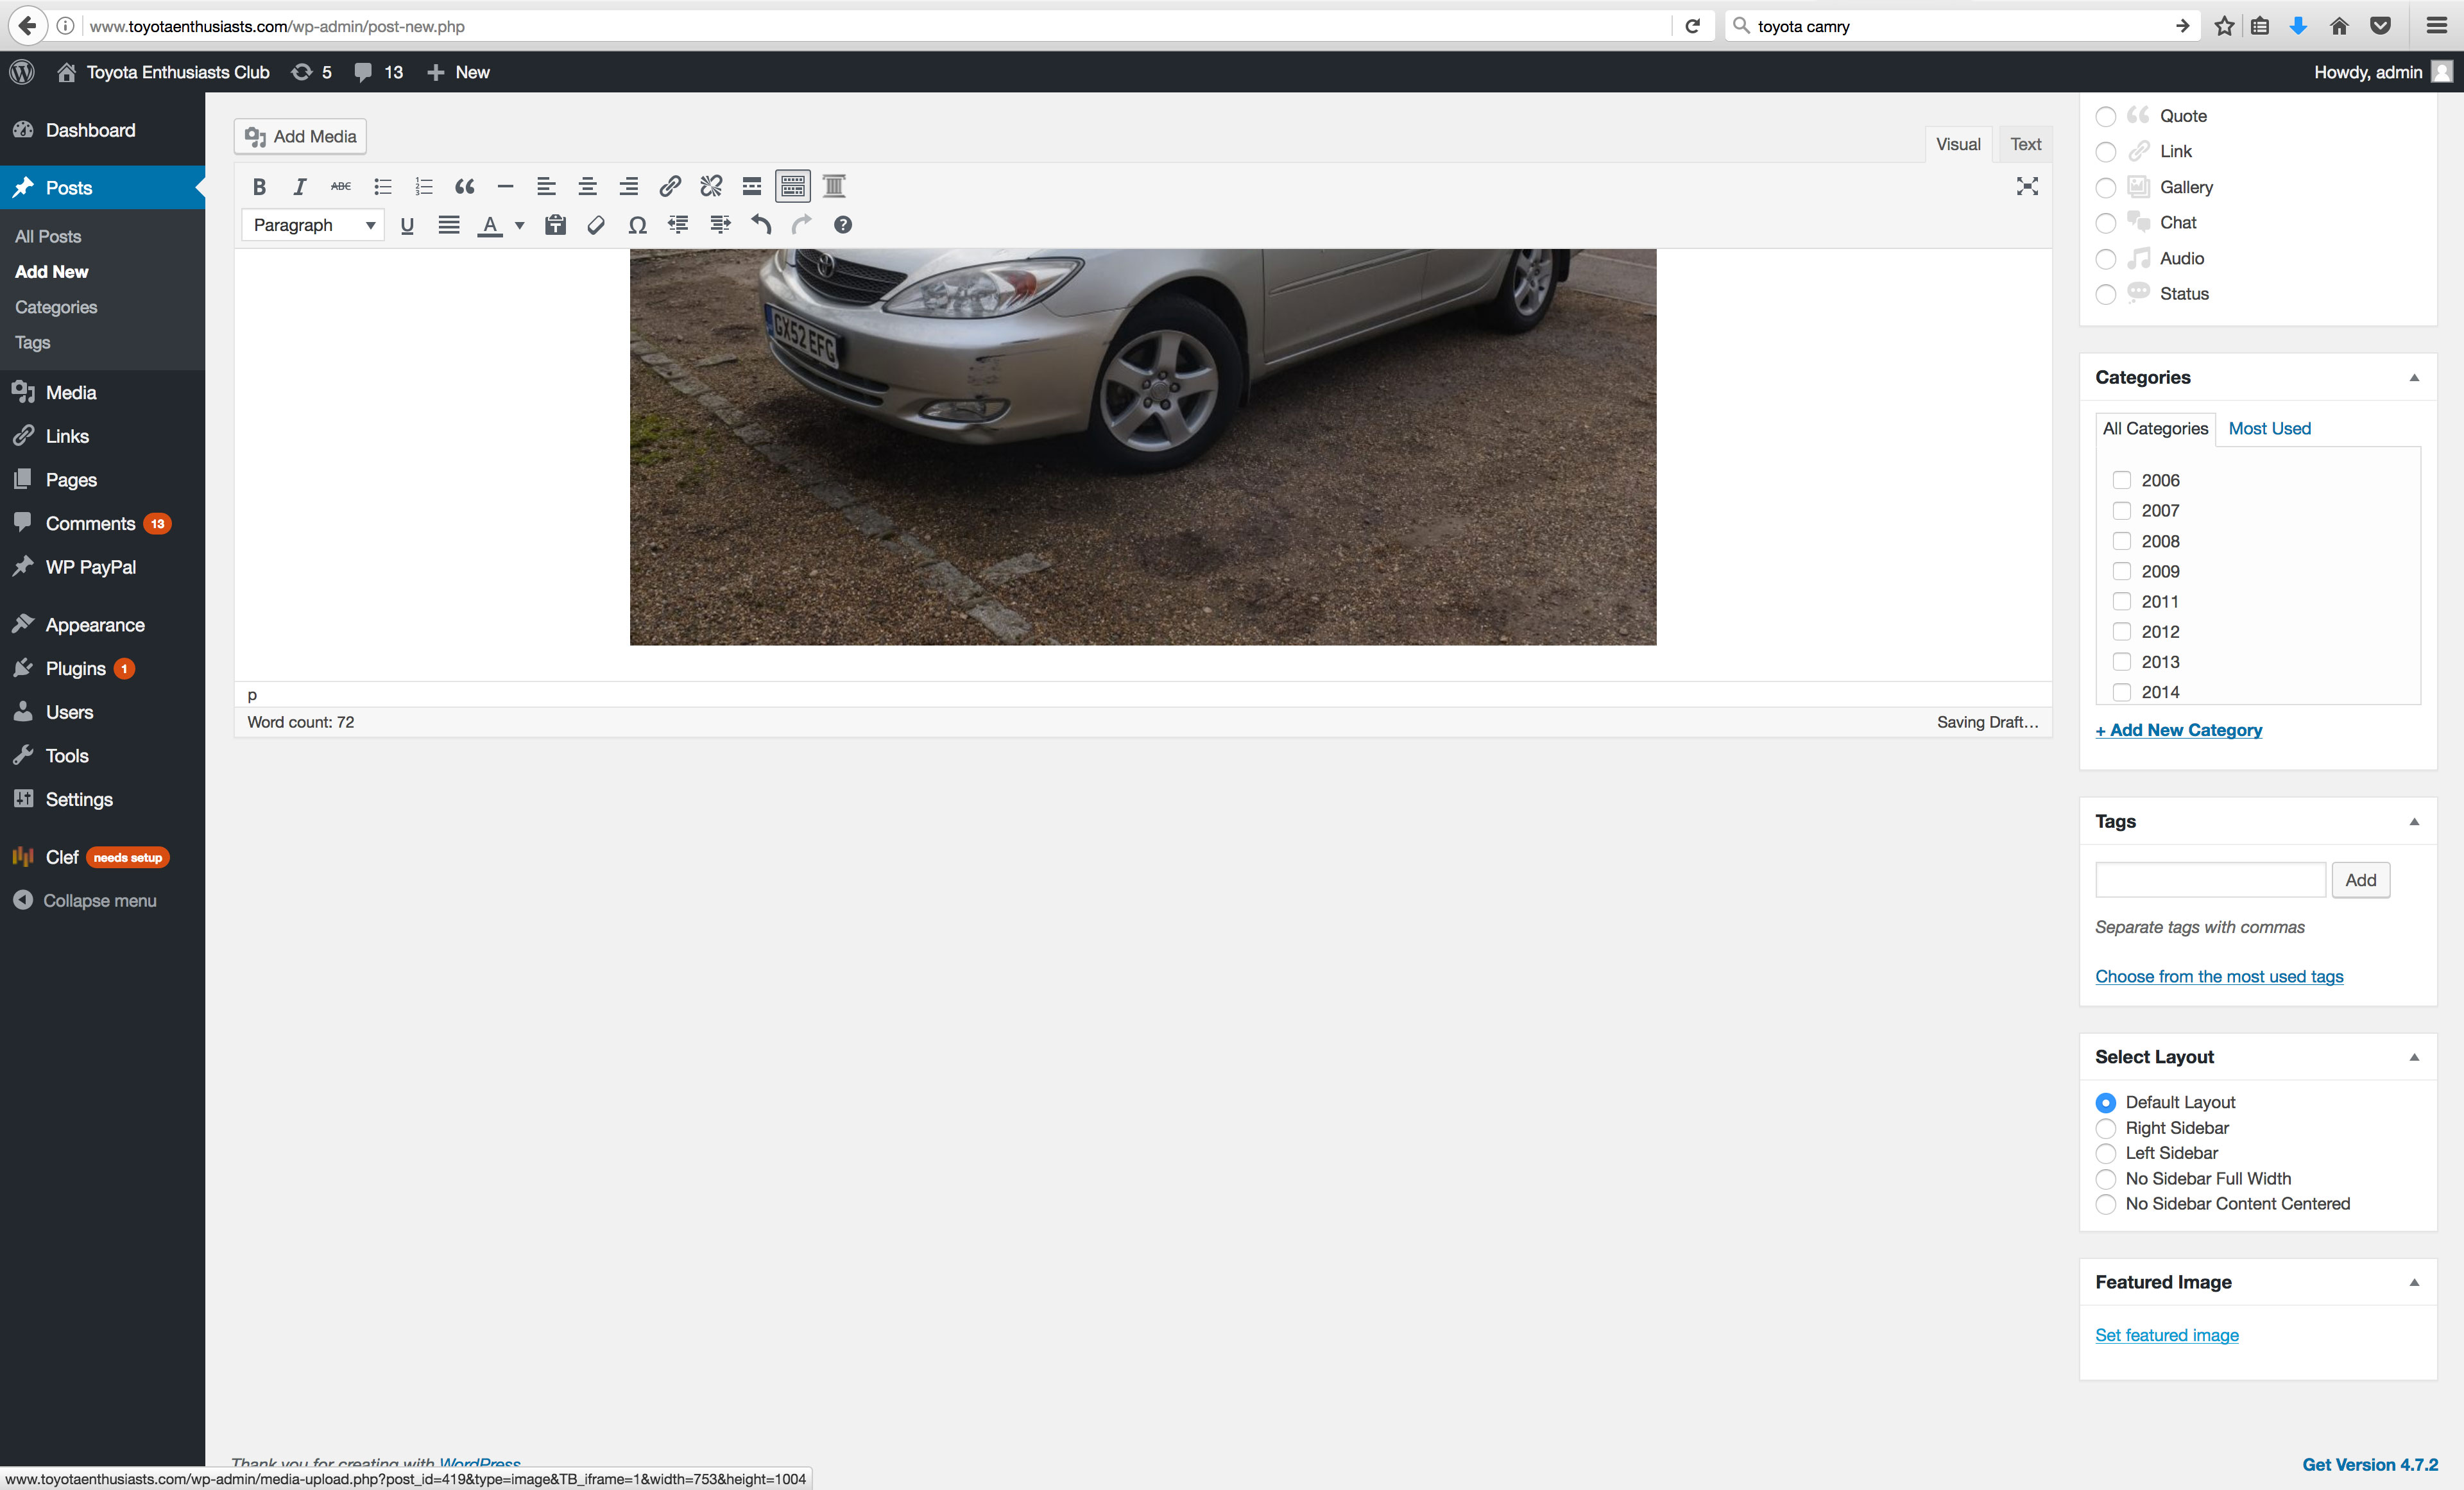
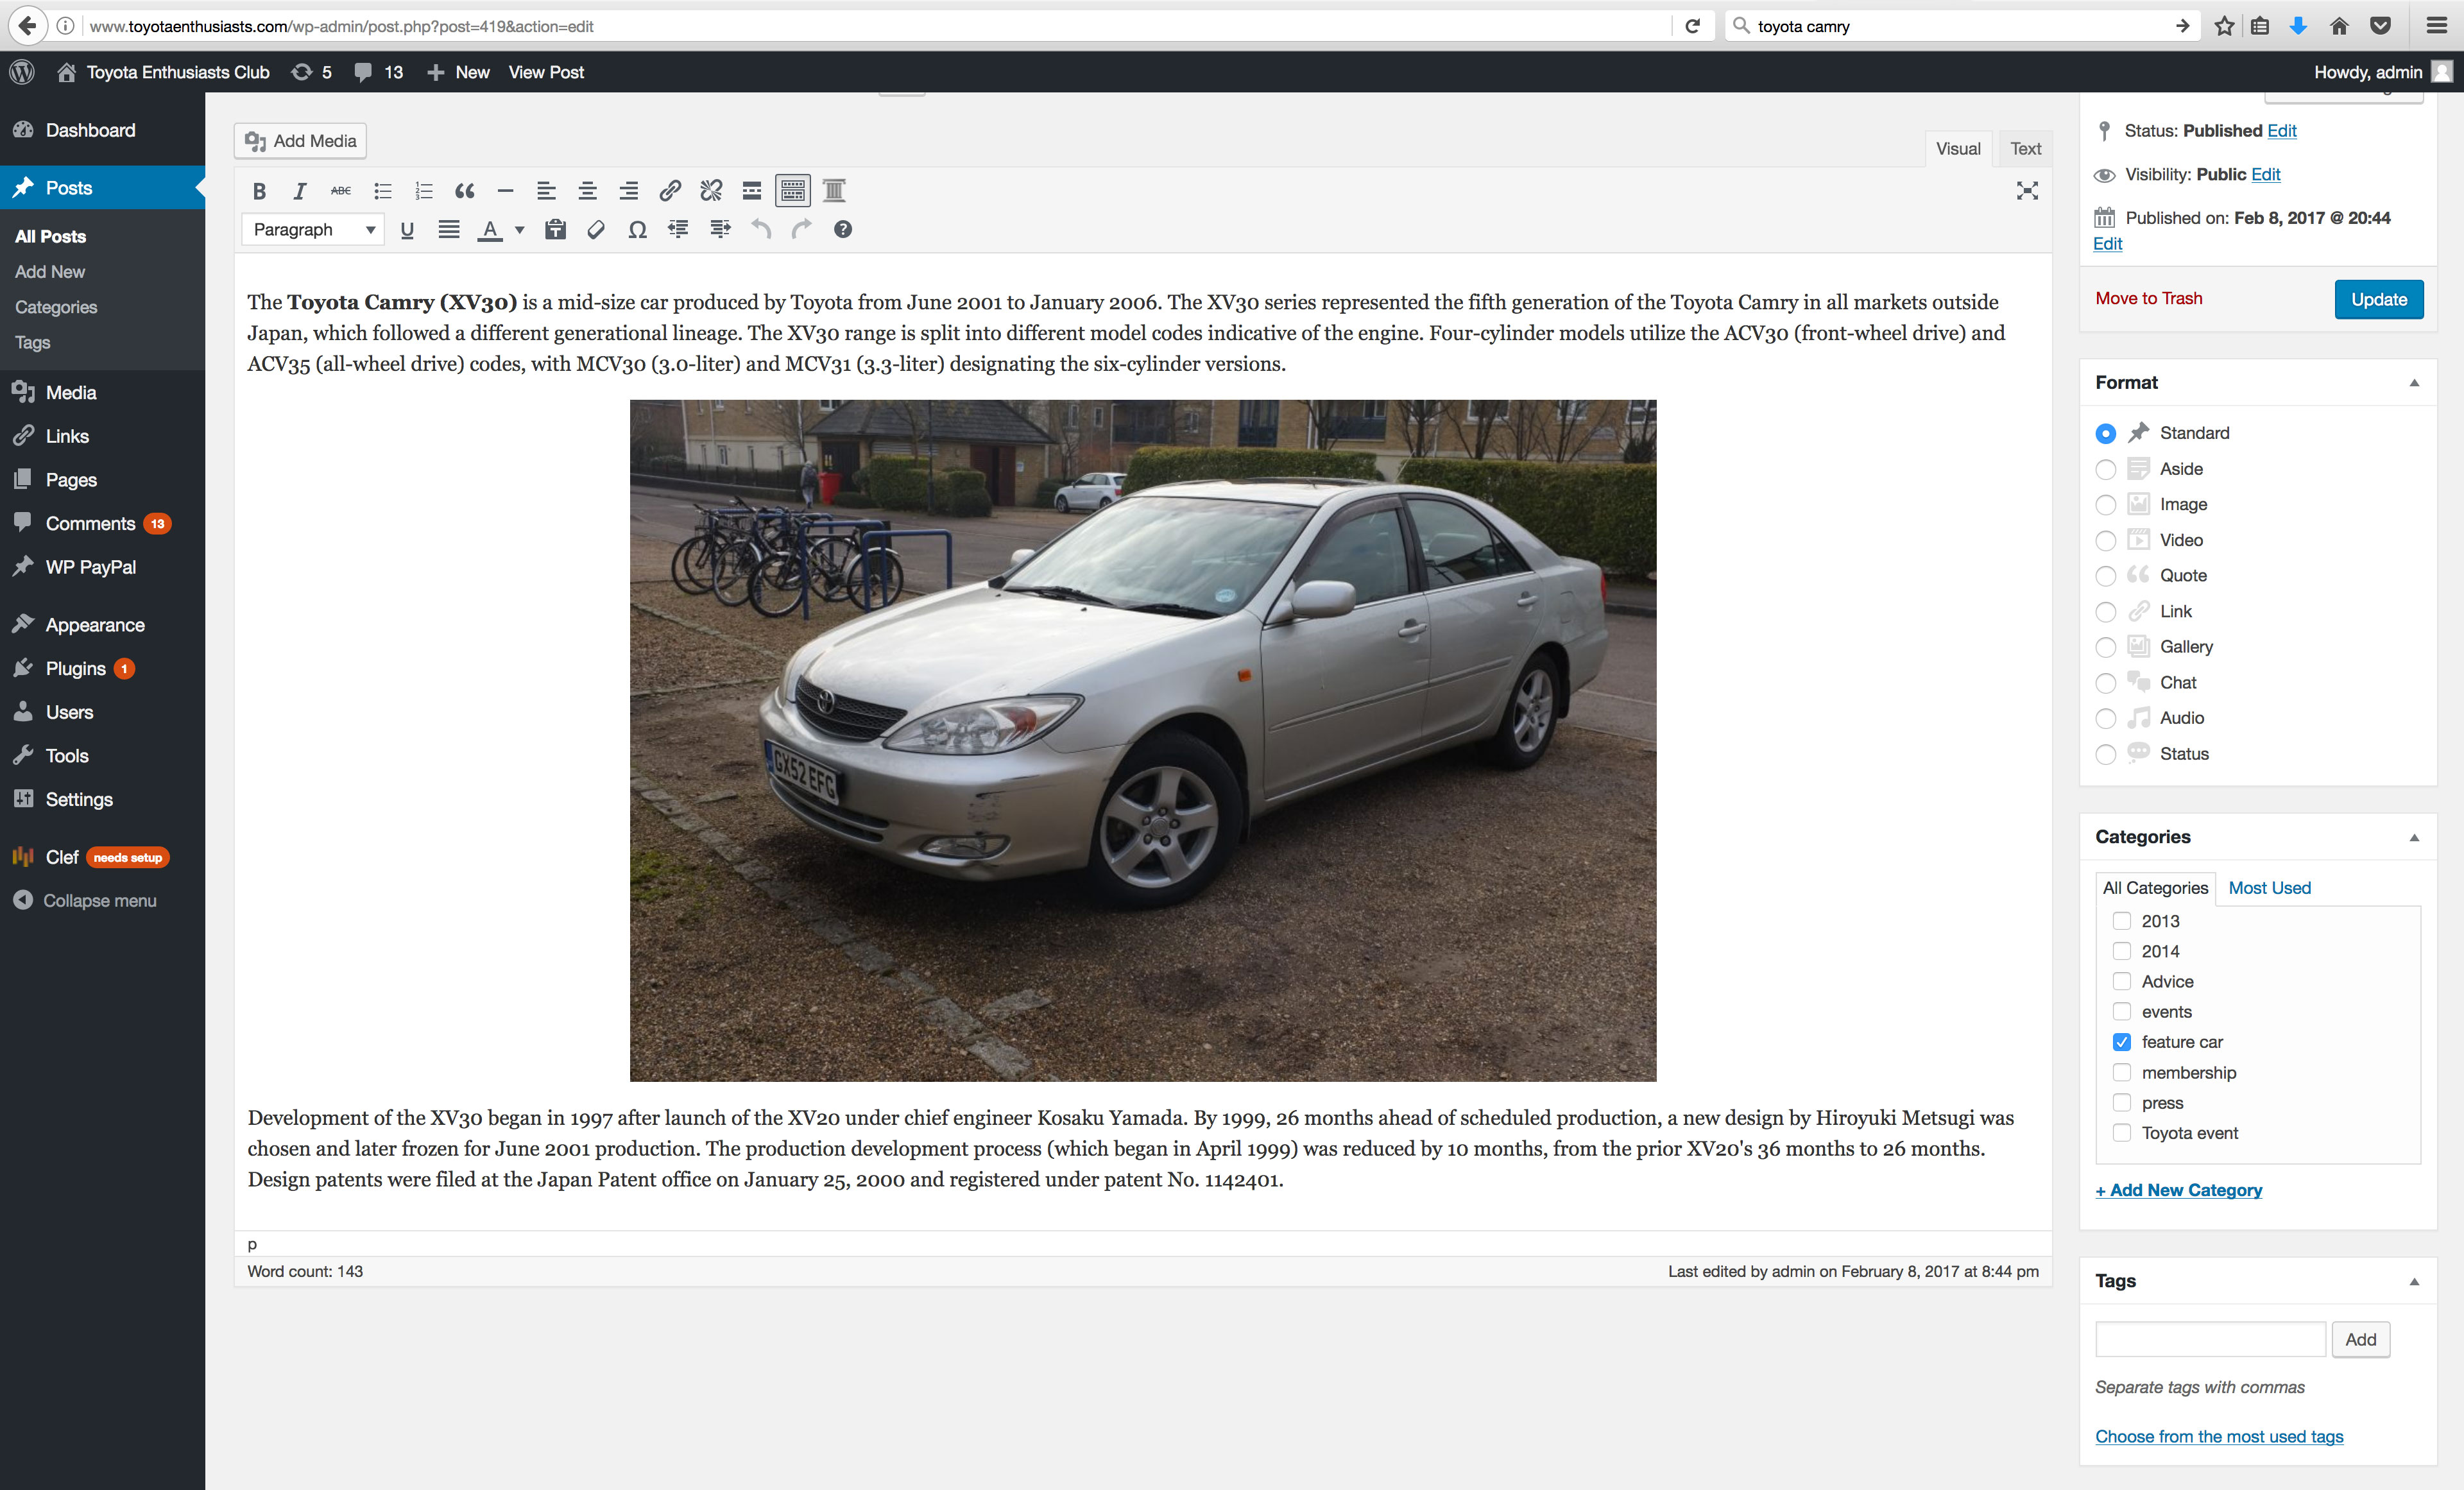
- You’ll see the back view of the Camry when you view the post. Before we do this, we need to tick a few more boxes on the right hand side. I have created a few categories to help section the posts. This helps the website view to organise which posts belong to which section. For example we will label this new Camry post as a ‘feature car’ article. You need to tick the relevant box as shown below.
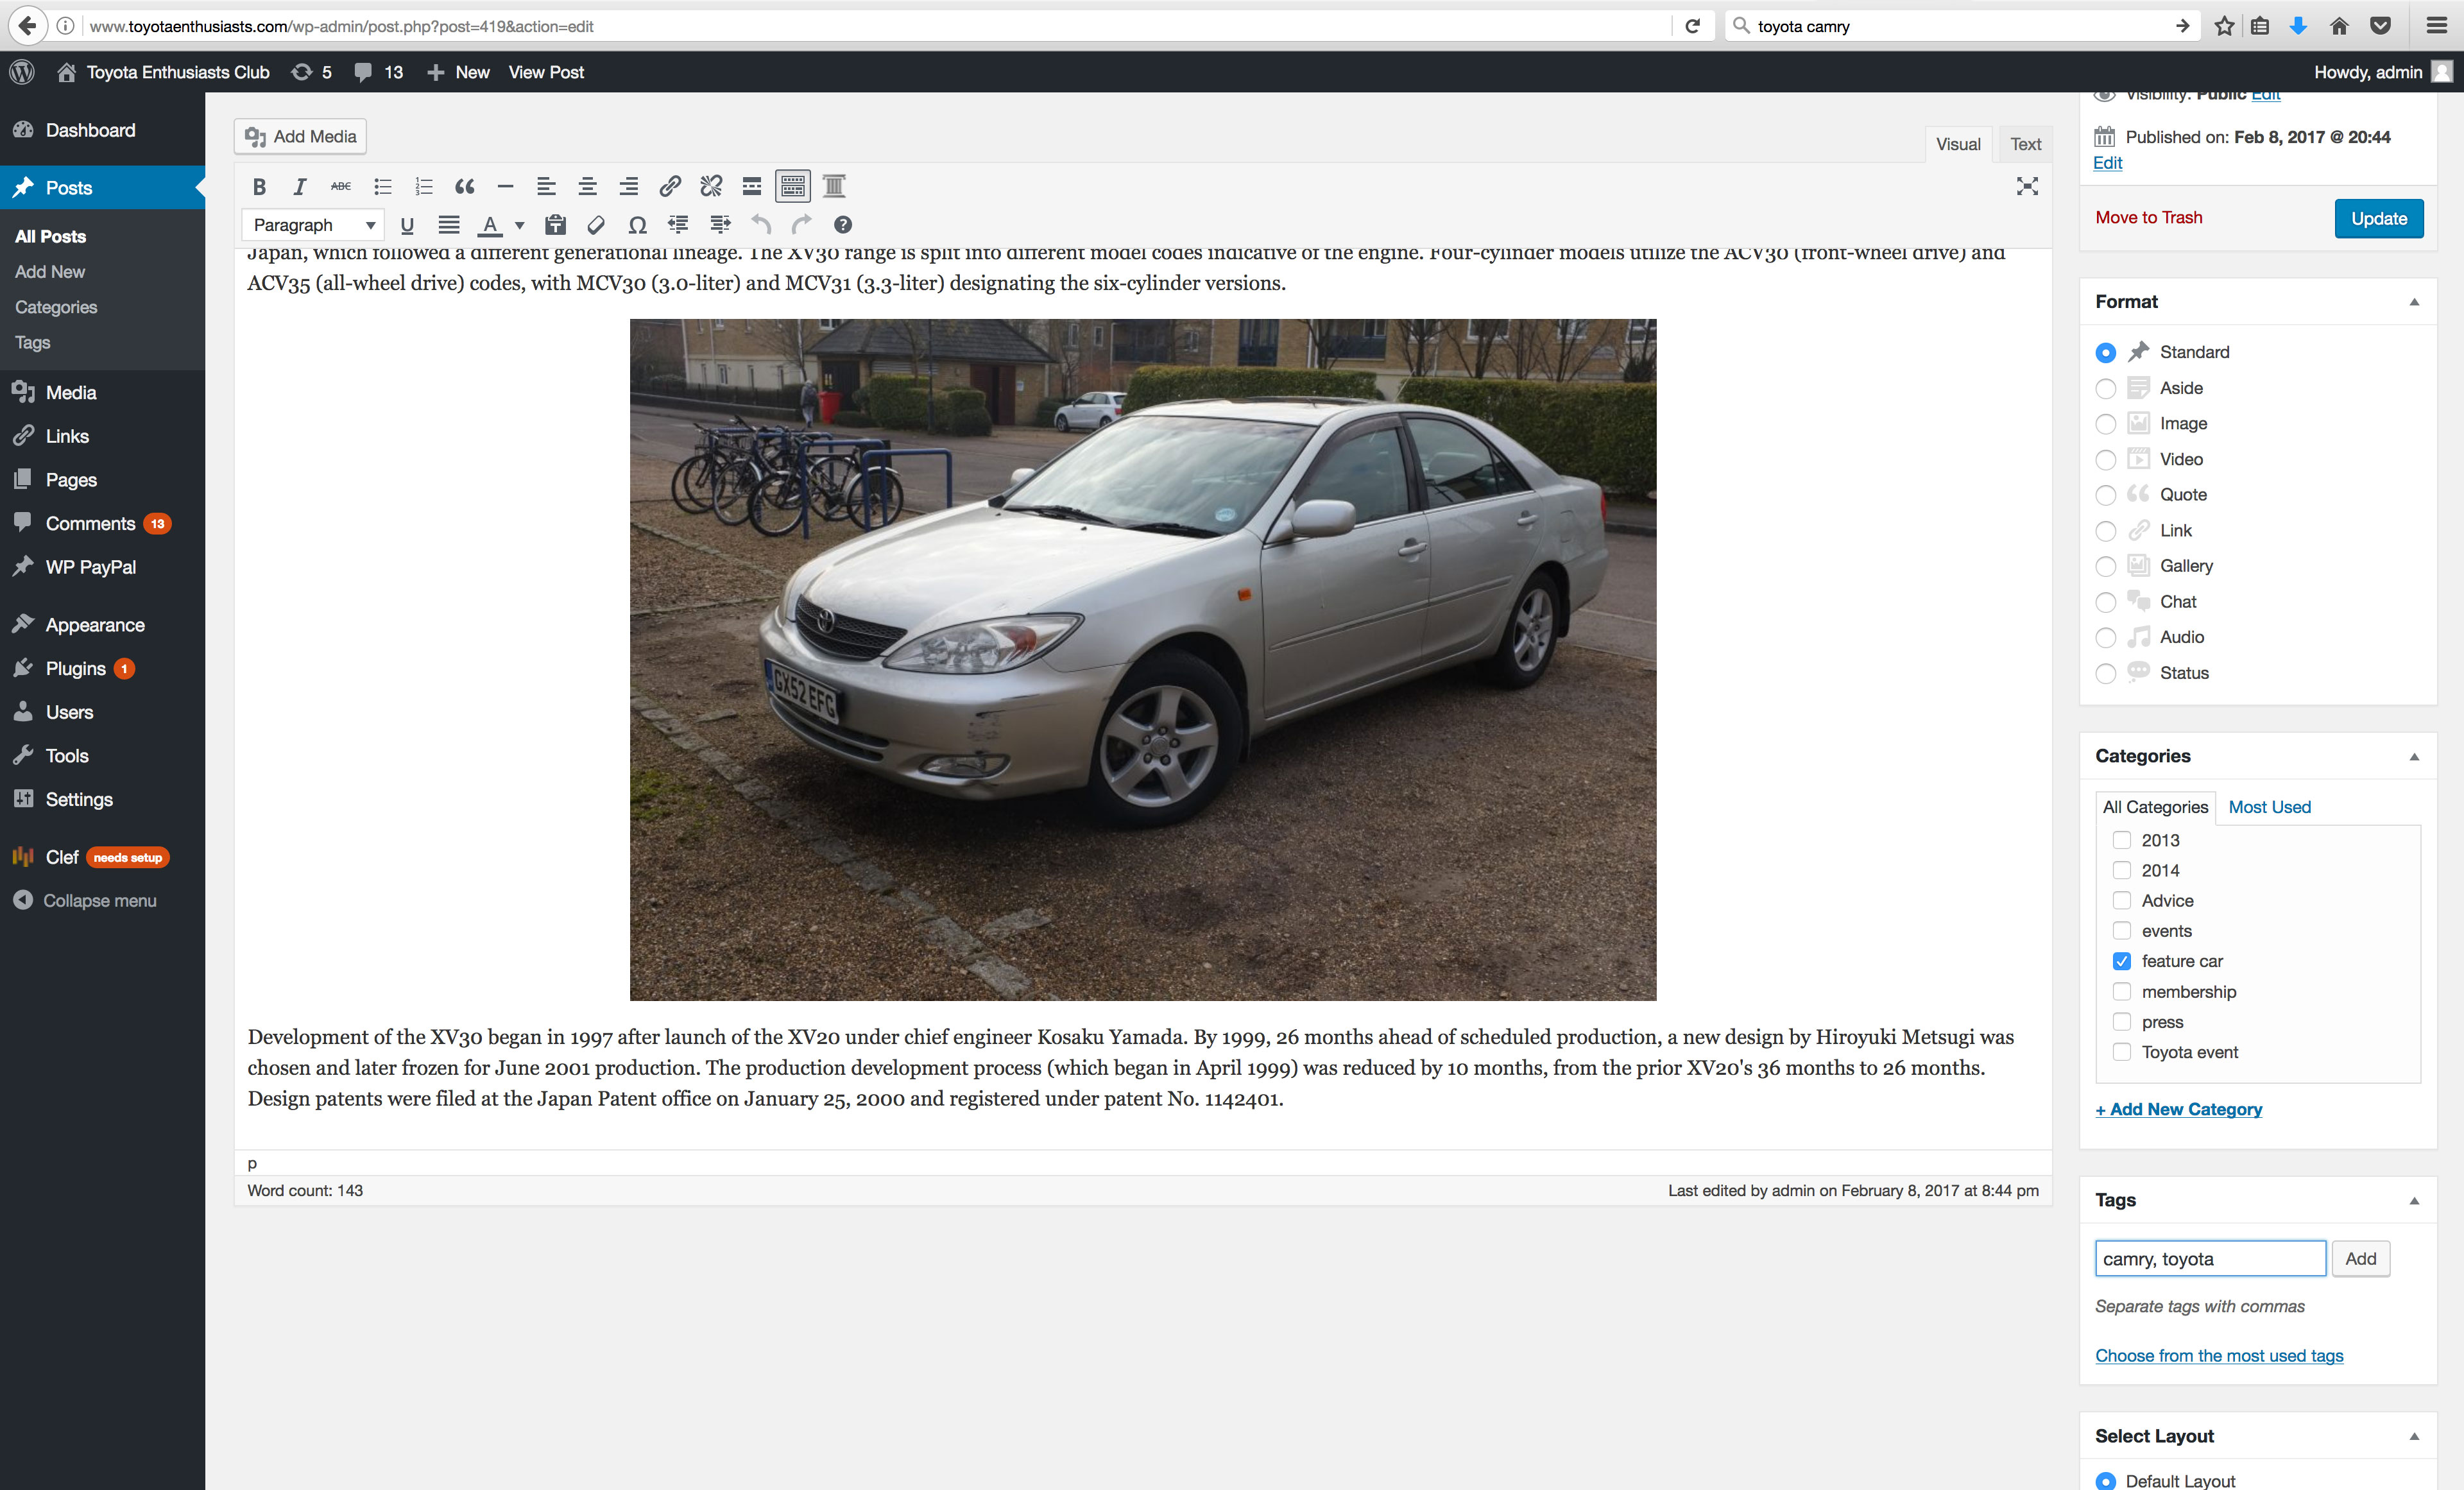
- On the same page type out some tags relevant to the content, you can add as many as you wish. These are used to help google find the post, as well as help searching from within the site.
- You can now view your post, either by pressing the ‘preview’ page or if you are confident that it is ready for the site you can publish the post and view the page by viewing the main site.
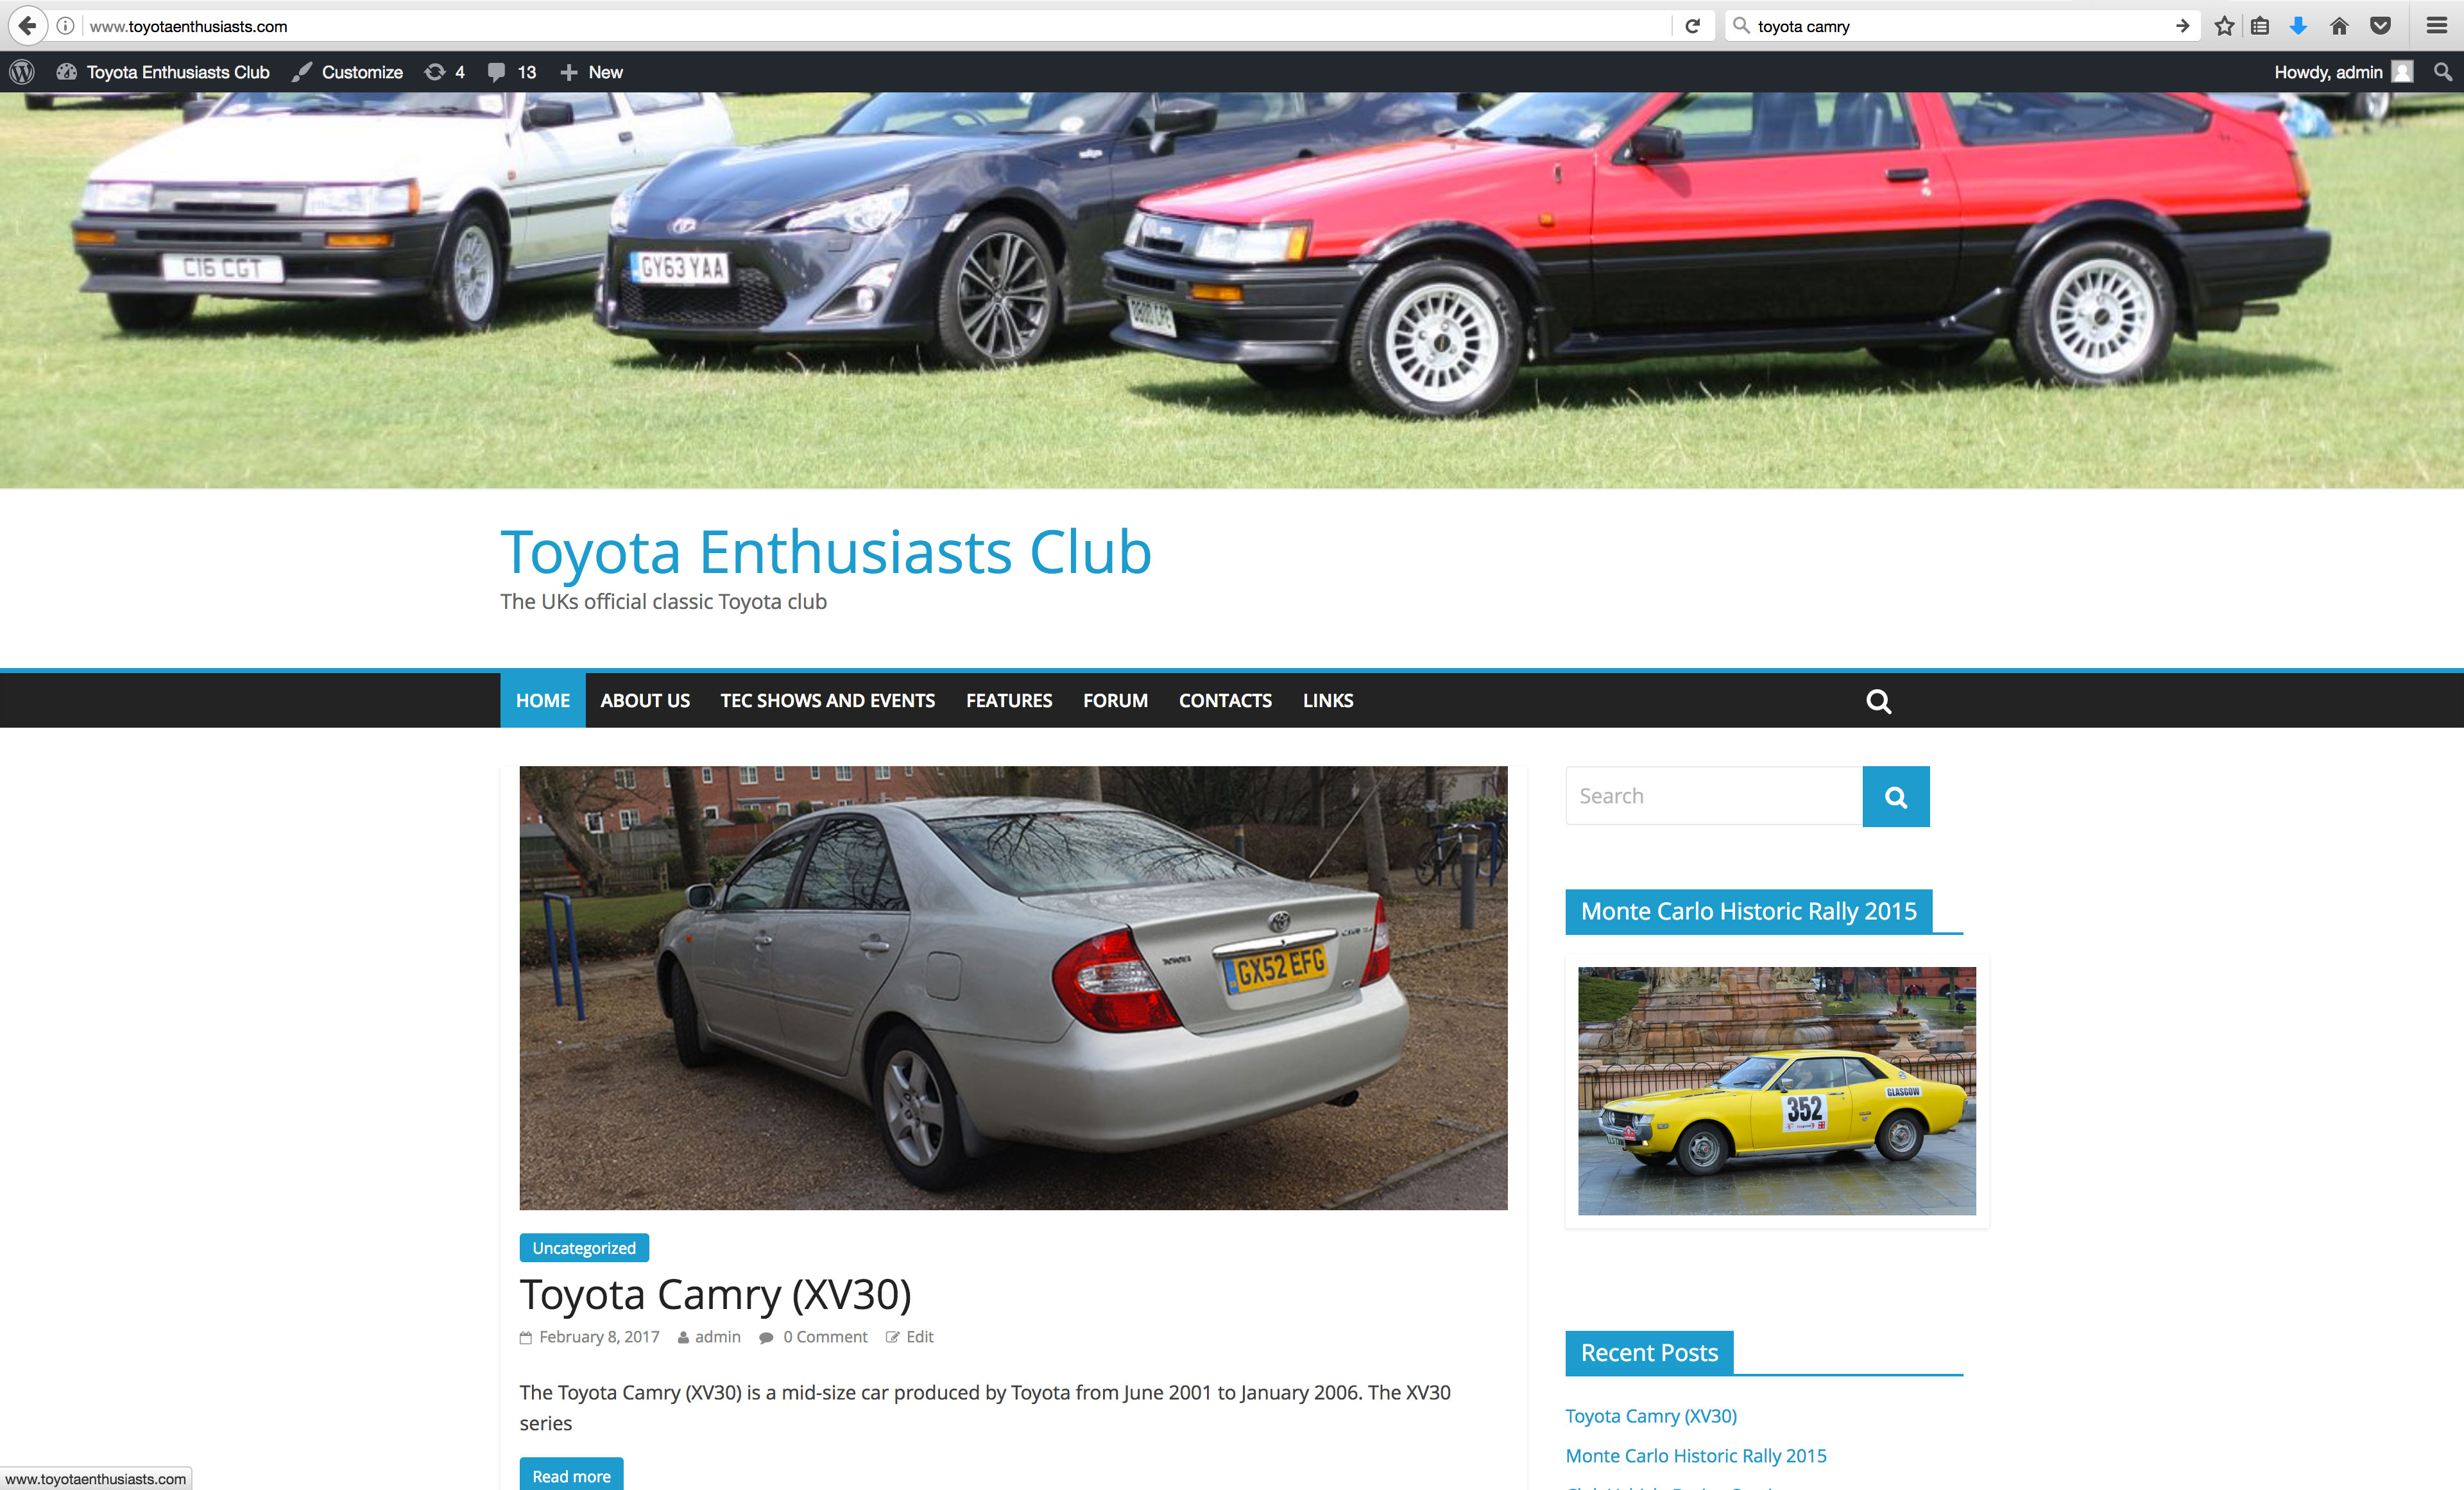
- The post appears as the first article by default. Don’t forget you can edit, amend or delete the post at any time.
The section below shows how to amend existing pages. A page is different to a post, posts are articles pages are part of the main site. You’ll see the main pages on the black band menu. To access the pages, you’ll need to go to the dashboard.
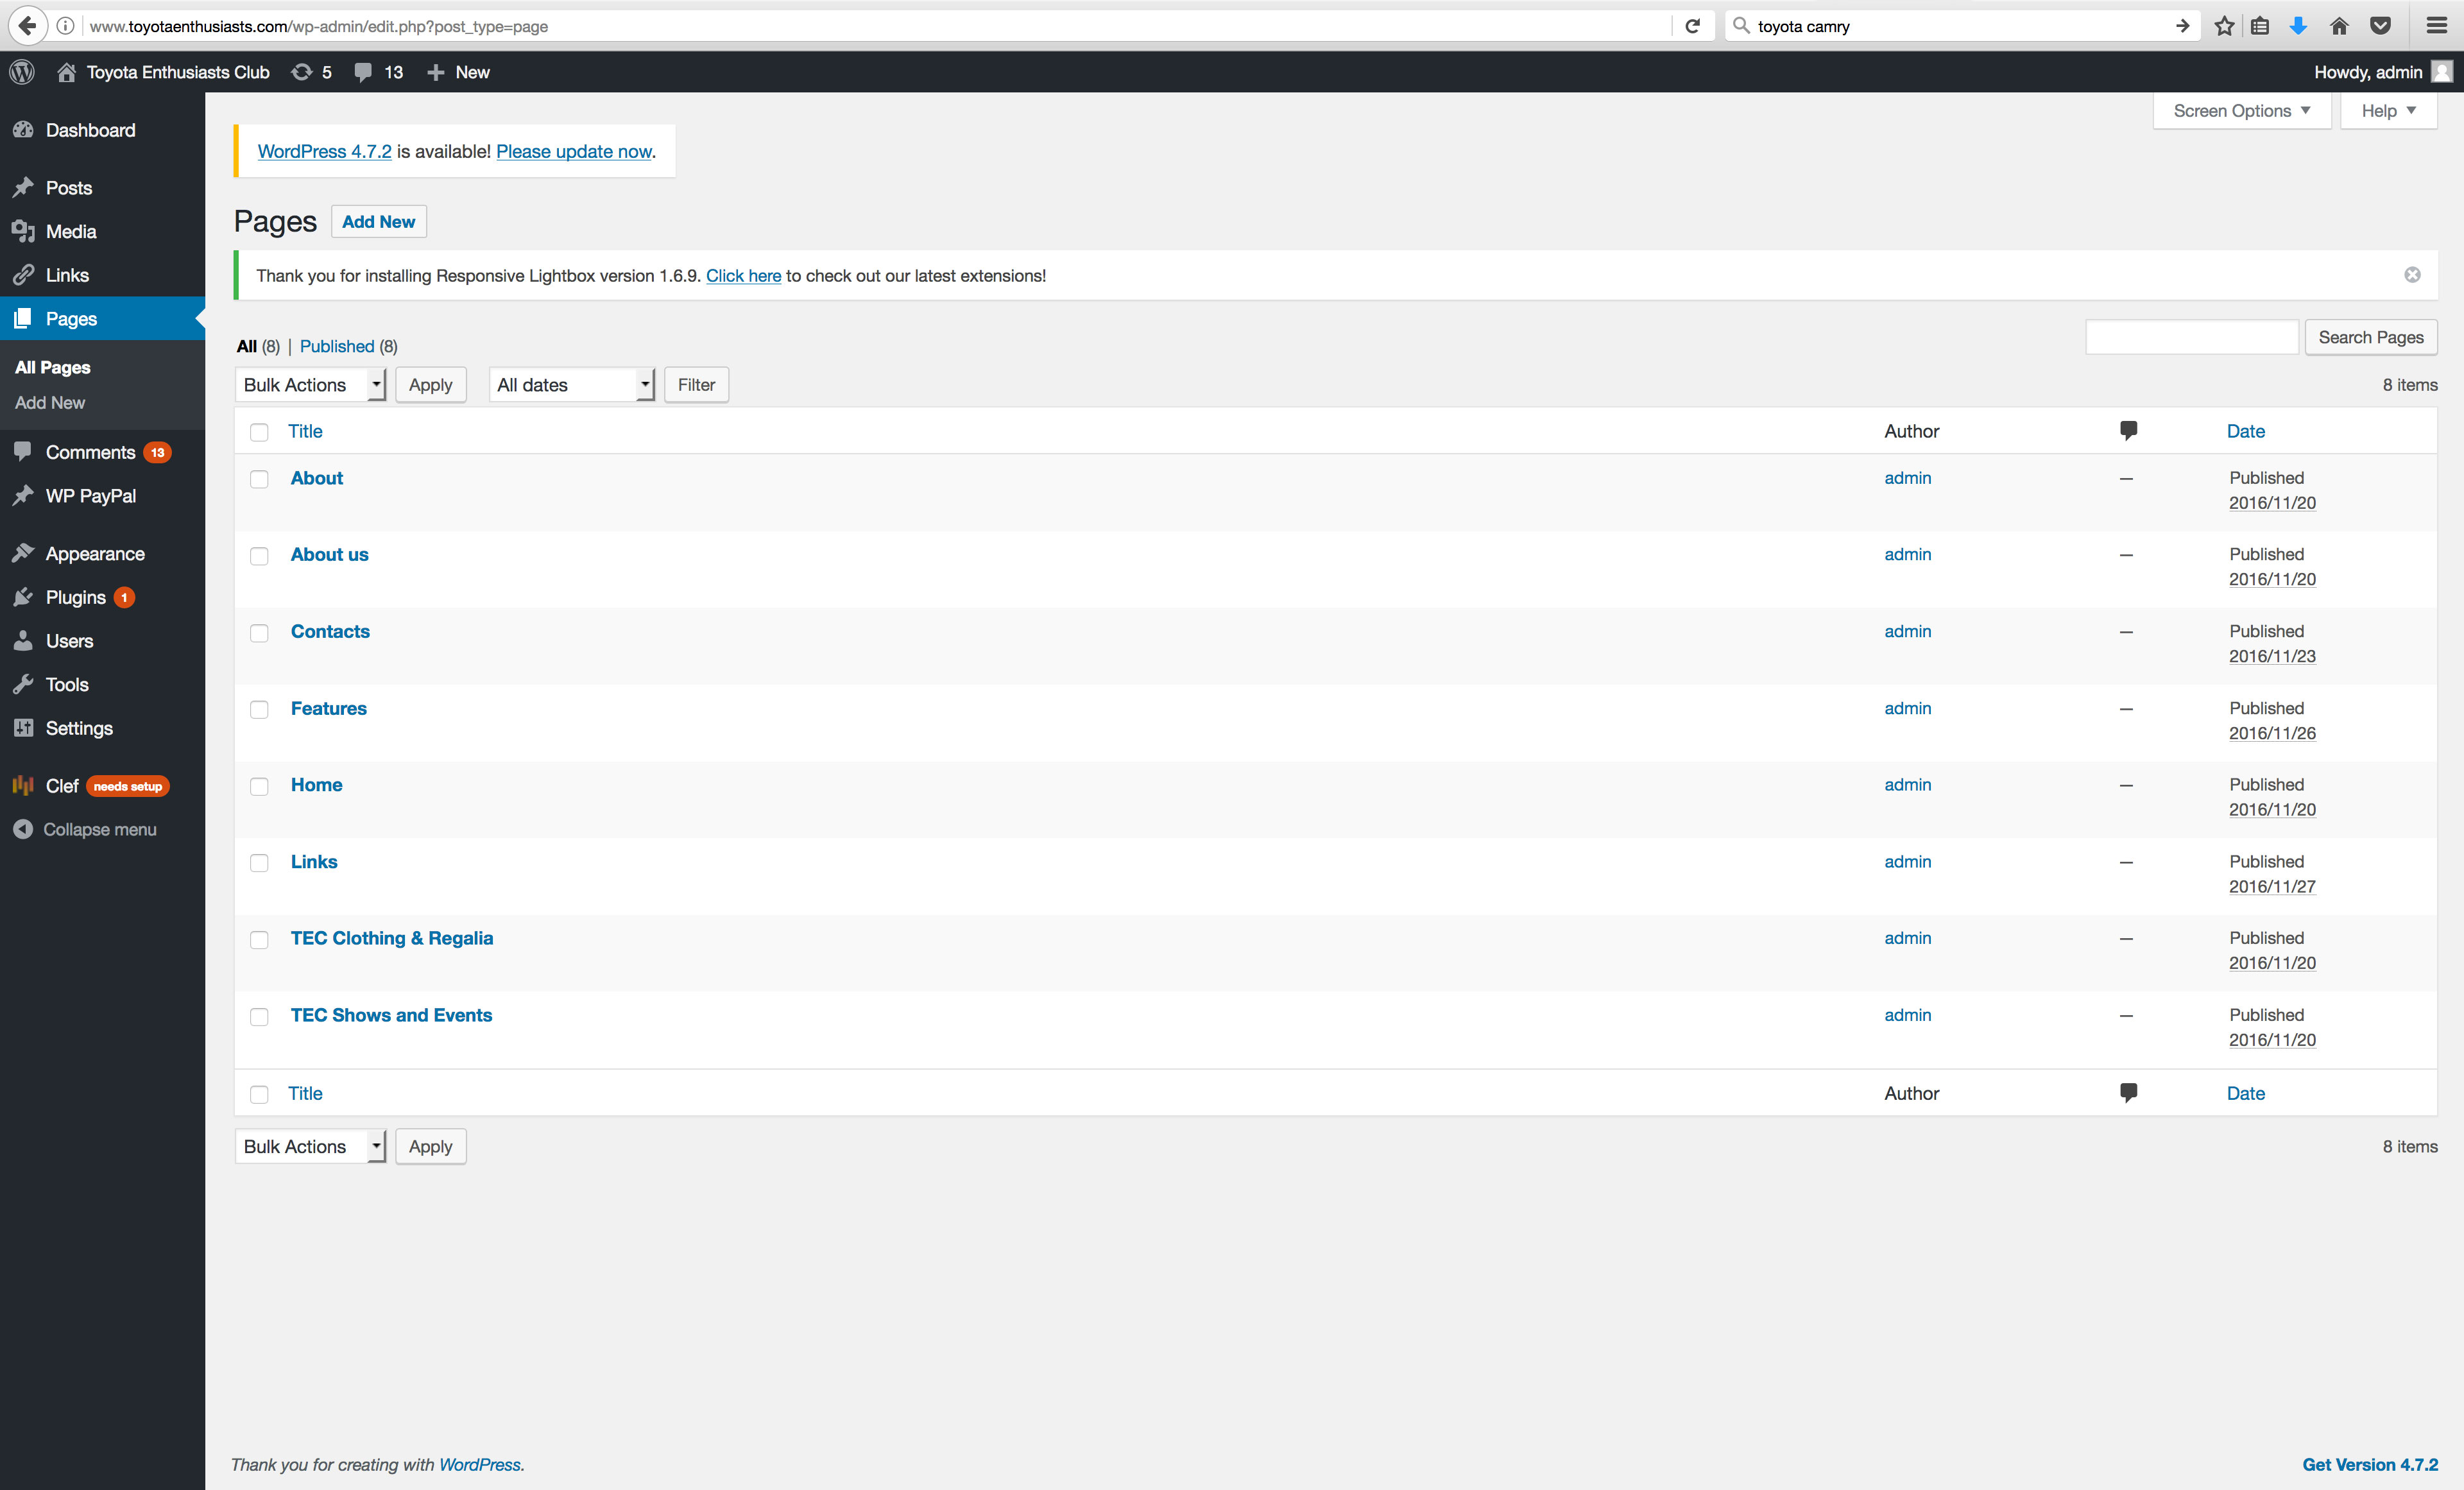
- Click on the pages section. This will show the current pages currently on the site. Not all of them will be published but the names of the pages will correspond with the website menu.
- To access any of these pages, you’ll simply need to click on one. For this example we will click on ‘About us’. Note that we can also create new pages, but these need to be added to the menu. For the time being, I will not show that – but again I am happy to either do this for you or I’m sure you could figure this out!
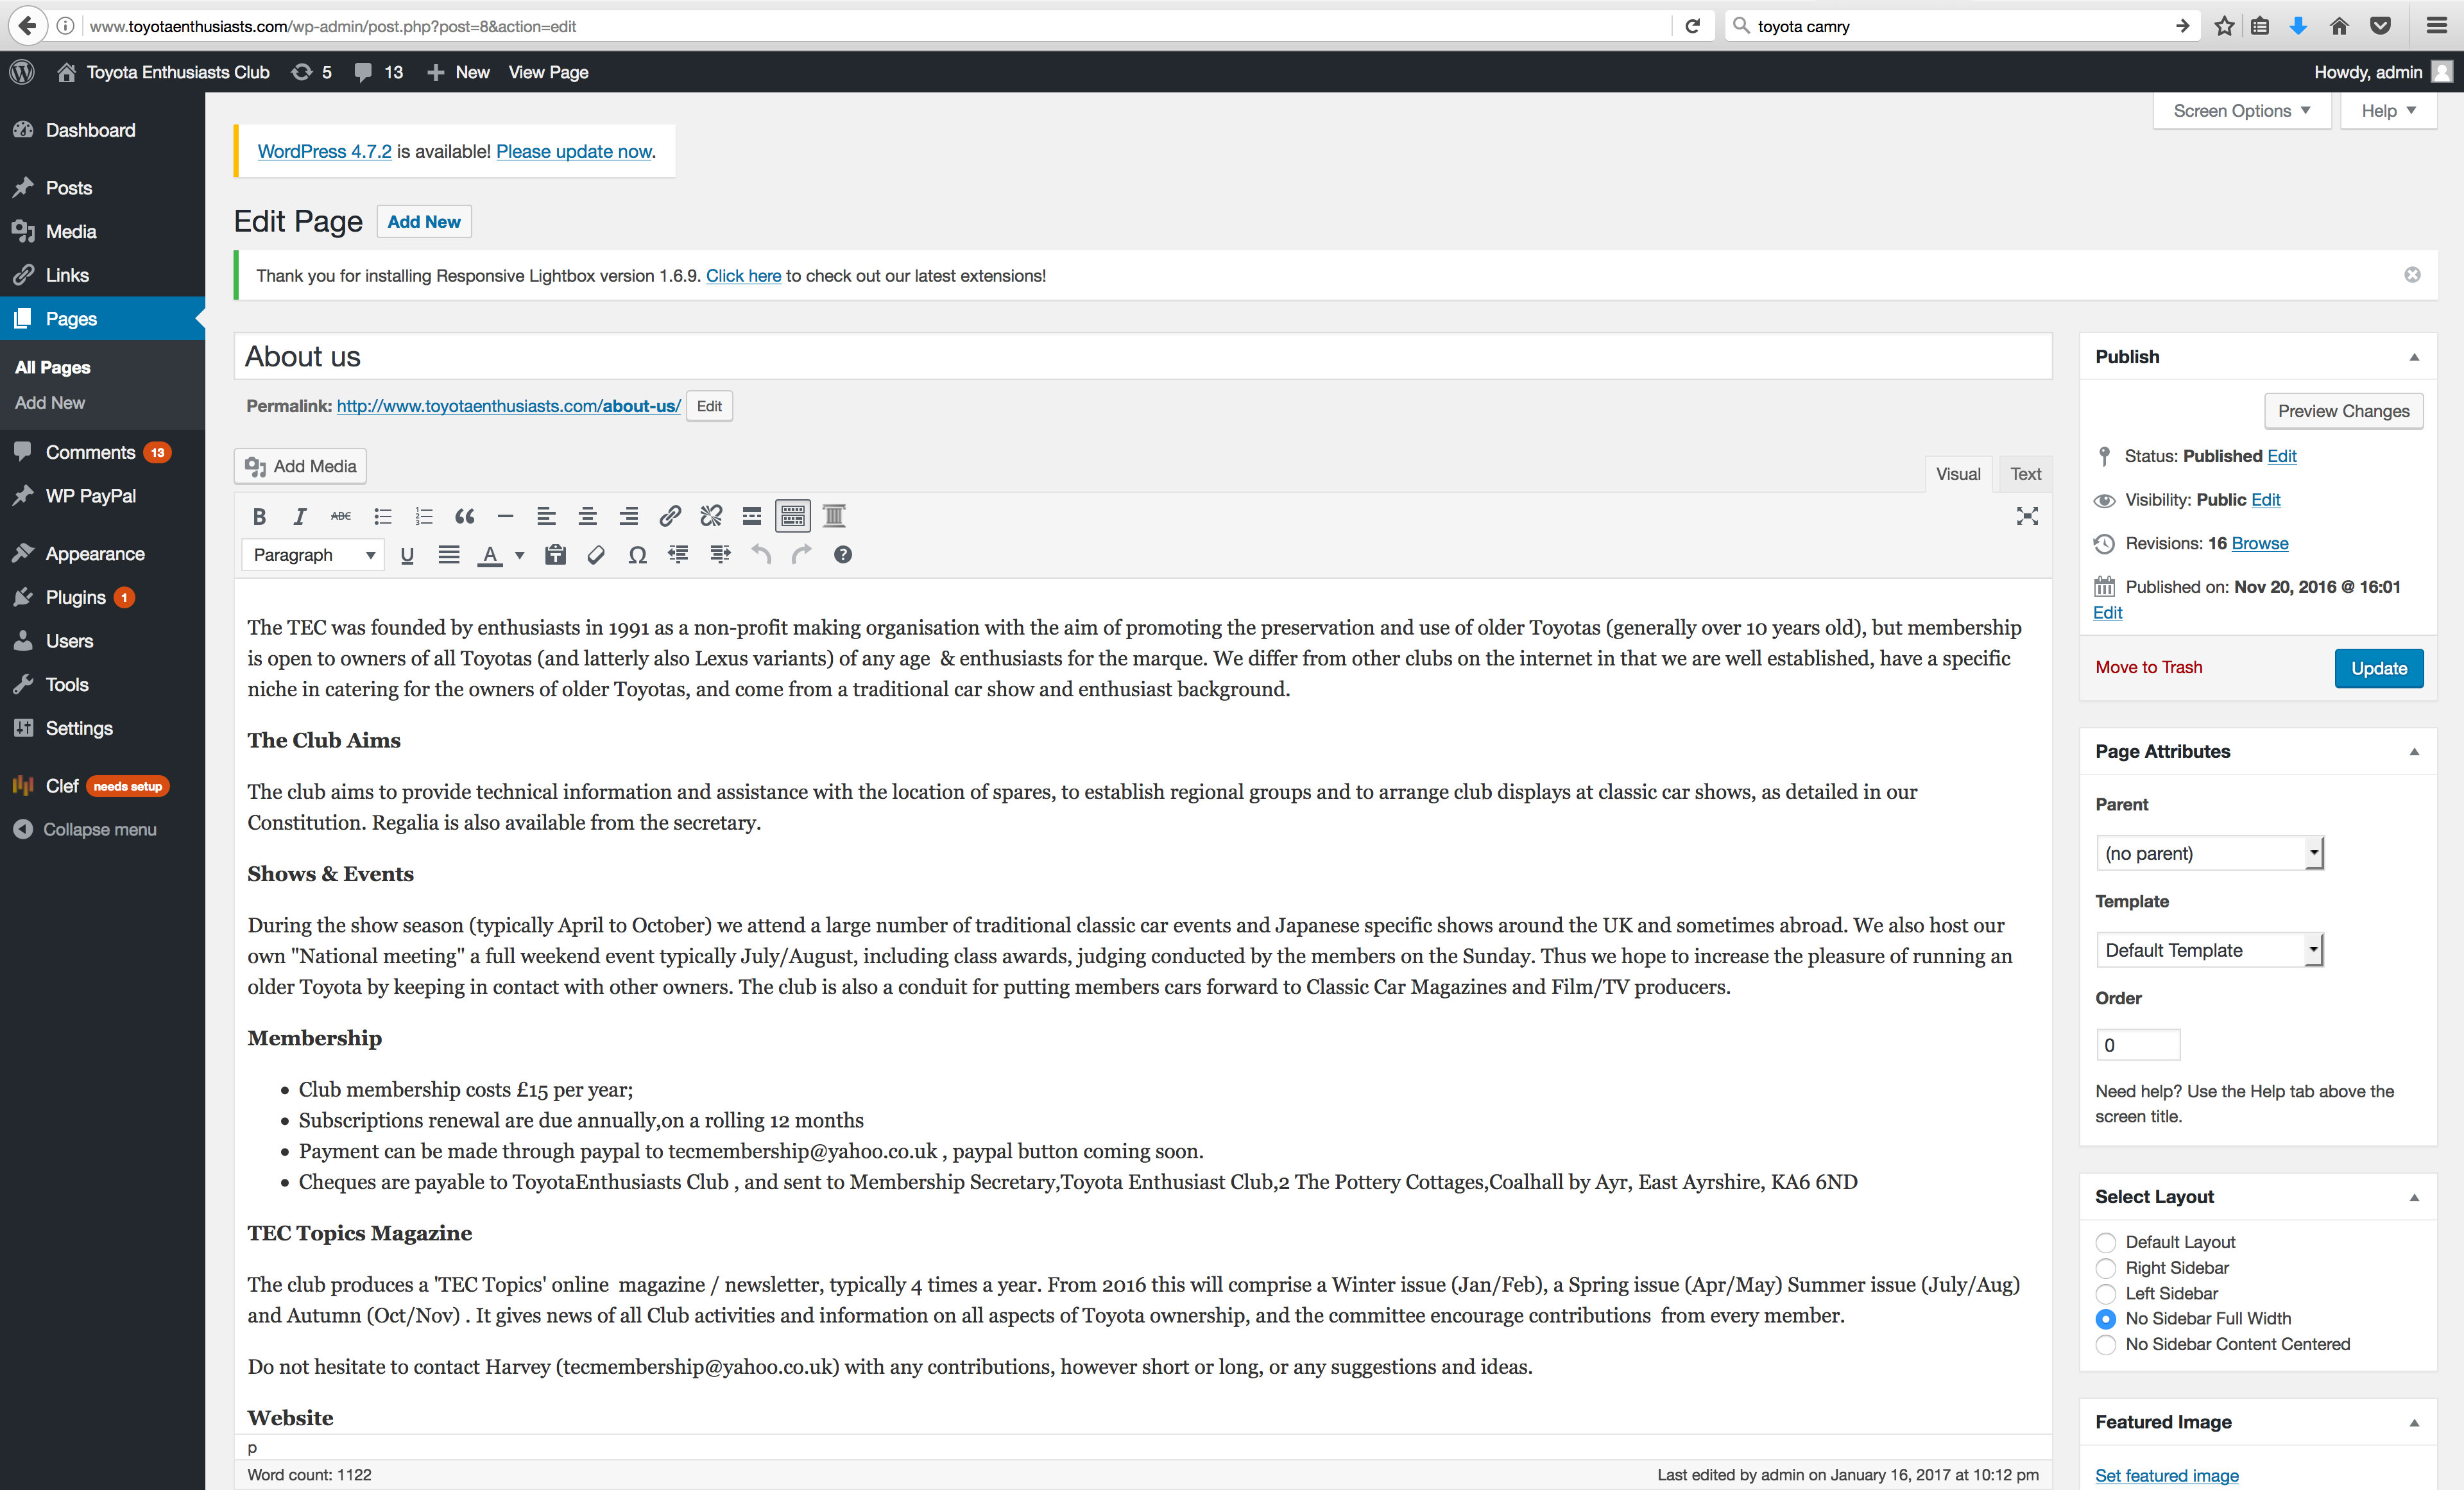
- You can amend, add and delete as you wish. I would make a copy of the originals before you make changes – but wordpress can roll back to a previous version if things do go wrong. You can click on the ‘revisions’ link (above the update button) if you wish to roll back. Once you made your changes, click on ‘update’.